
Making Maple Syrup: Part 1
Let me preface this post by saying we are complete beginners when it comes to making maple syrup. Neither of us has done this before so we’ve just been researching everything. This is something we decided to do on a whim and thought it’d be a fun little experiment! Plus, it seemed like the perfect activity for these in-between months where everything’s melting, the lakes are still frozen over, and there’s just not much to do!
So this is Part 1 of our maple syrup adventure! I plan to make a

But first, some facts.
1.) Sap flows through the trees when the temperature rises above freezing during the day and falls below freezing during the night. This is why late February, March, and early April are the best times to tap trees.
2.) Maple syrup can be made from any species of maple trees but the most popular choice is the sugar maple (it’s the sweetest!)
3.) Are you ready for this one? It takes 40 gallons of sap to produce 1 gallon of maple syrup! No wonder real syrup is so expensive!
Our Supplies
There are only a few items you need to tap a maple tree and it’s relatively inexpensive! The items you’ll need:
· Power drill
· Hammer
· Taps aka “spiles”
· Bucket
· Tube pieces (optional)

Identifying maple trees
Once we gathered up all of our supplies, we headed out into the woods. Little did we know, identifying a maple tree in the winter was going to be the hardest part! Neither of us really knew what a maple tree looked like without its leaves. We walked around the woods scratching our heads. They all looked the same!
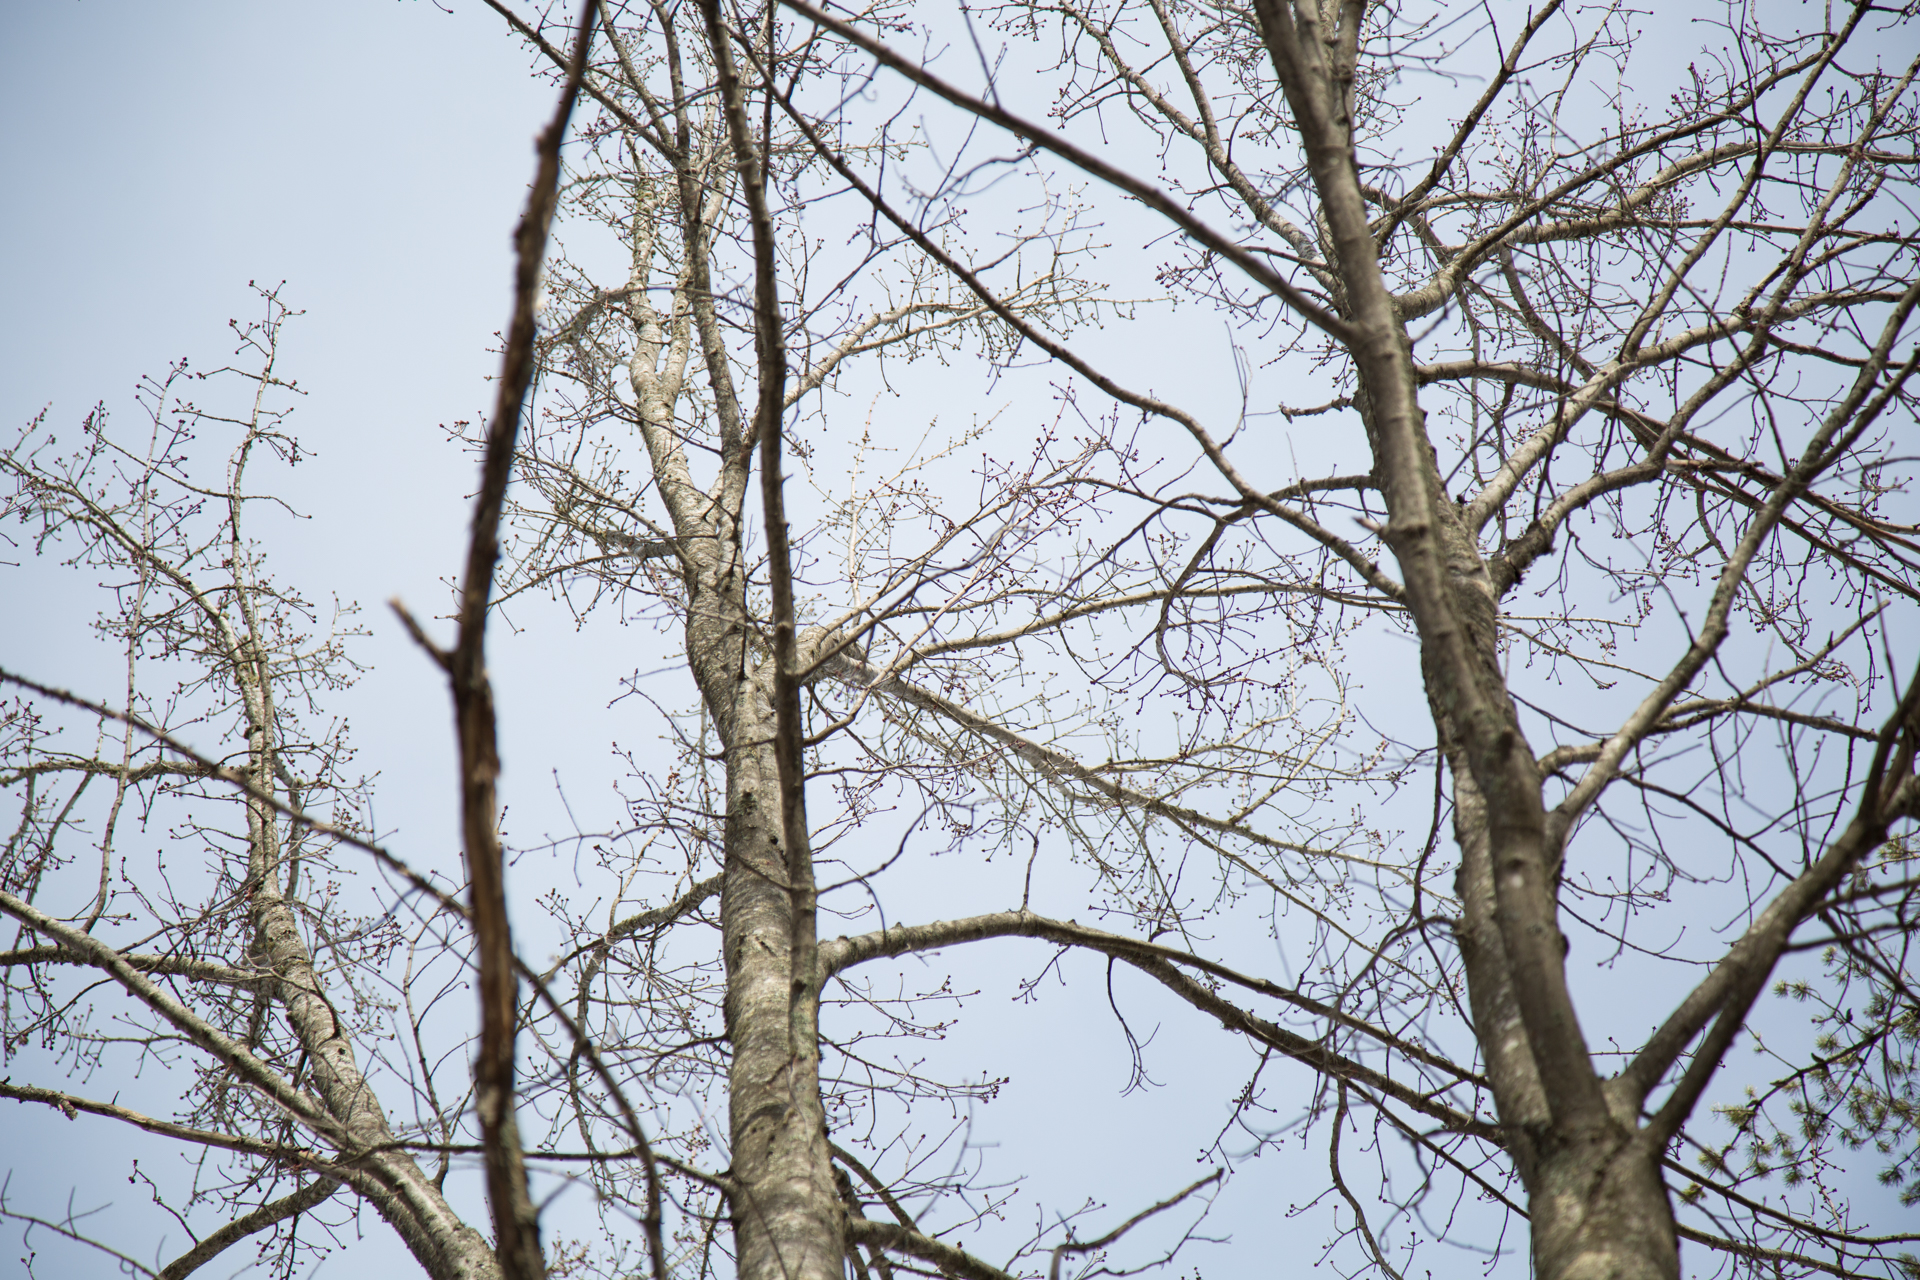
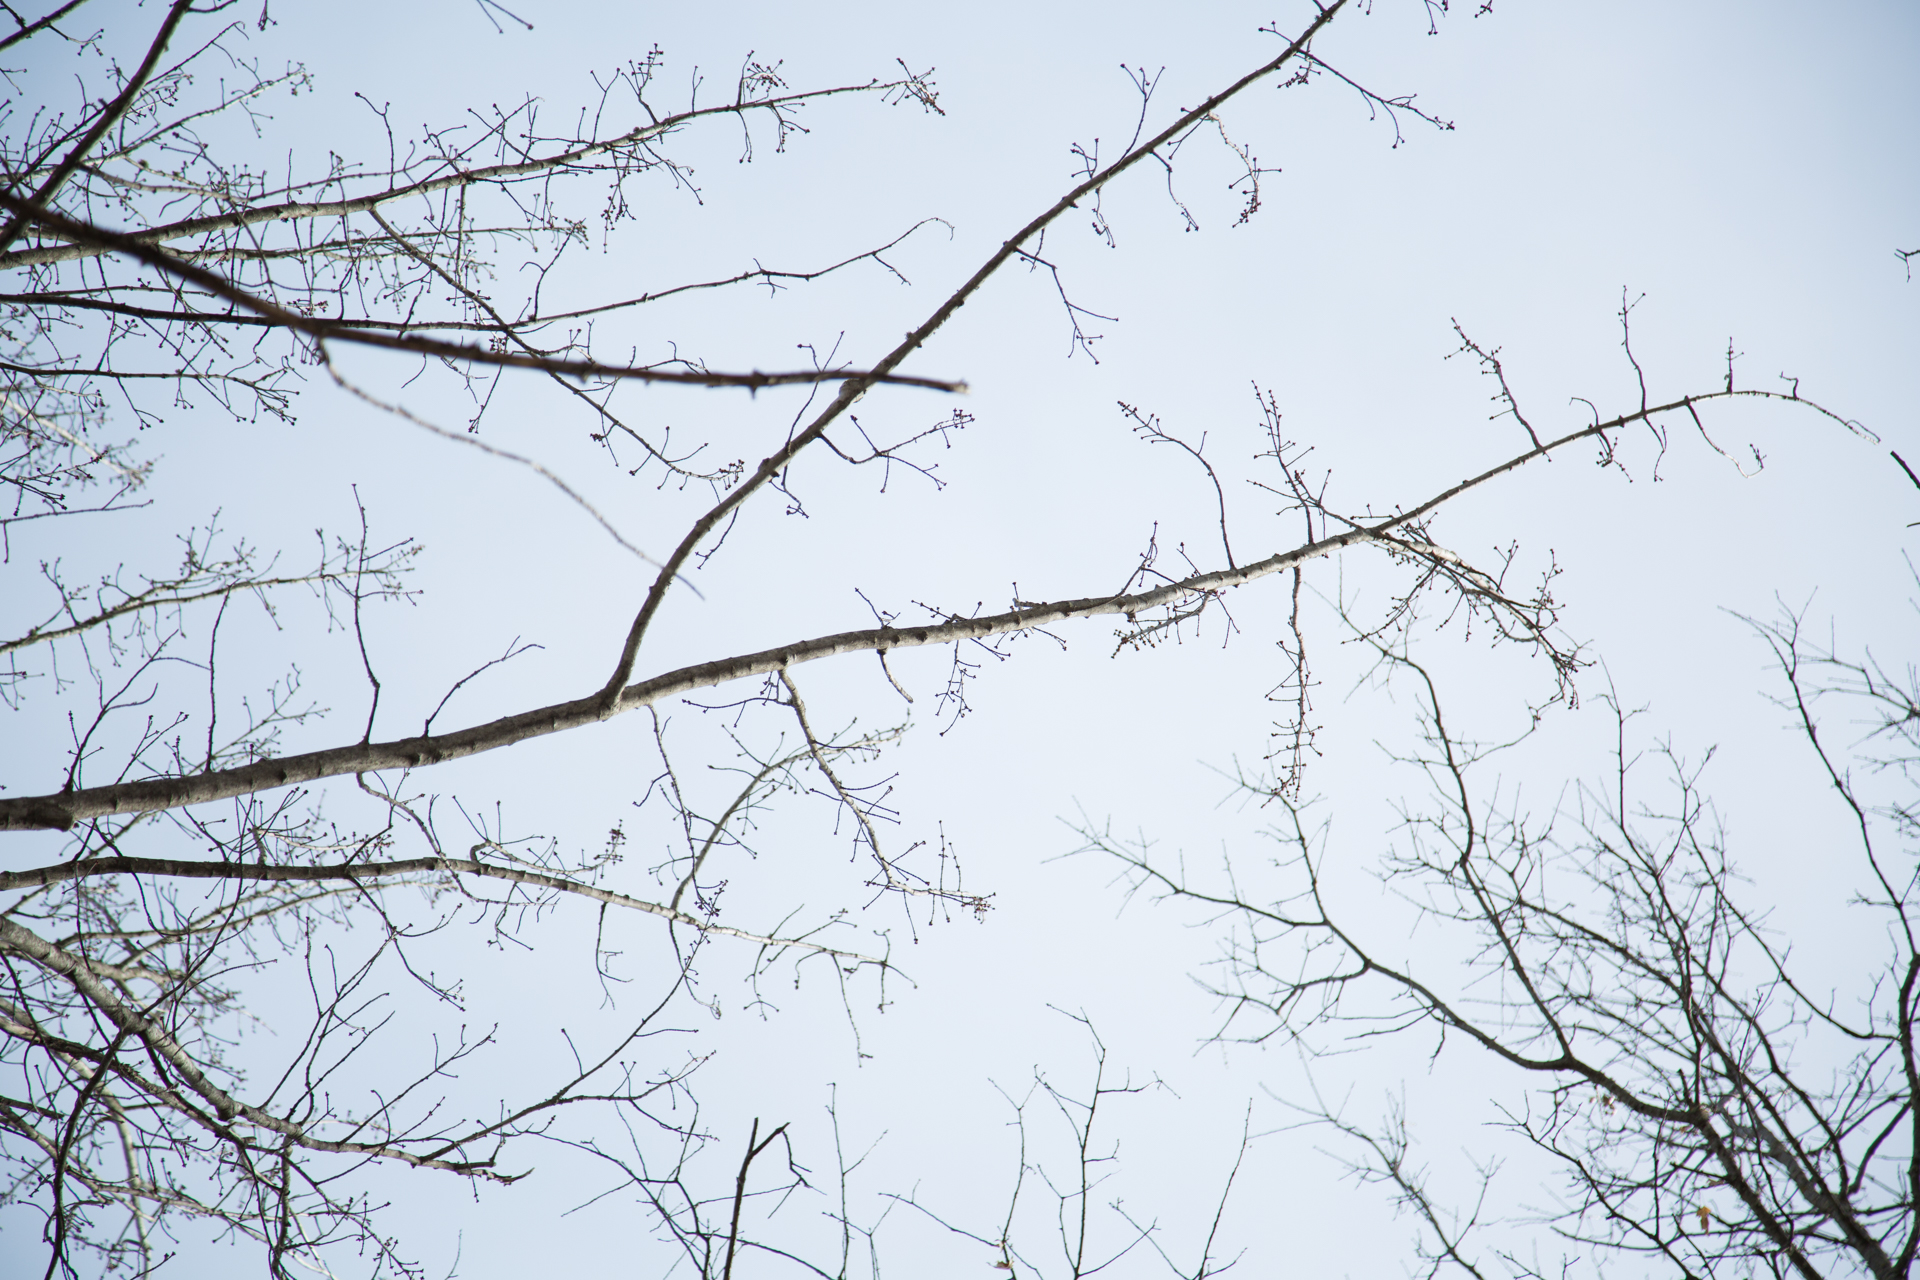
So out came the phones. We stood there Googling “maple tree in winter” for about 30 minutes, holding our screens up next to the bark like a couple of city slickers. Eventually, we were able to identify one and then from there, we were able to find the others. We ended up tapping six trees in total. Now I’m no tree expert so don’t quote me on this, but there were two main ways in which we were able to tell the maples apart. The first was by looking up at its buds. The buds on the maple trees looked dark, small, and round (much rounder-looking than the other non-maple trees). If you’re able to look really close, they’re actually cone-shaped buds. The second way we identified a maple tree was by looking at the tiny branches way up high. Maples have an “opposite branching pattern”, meaning two branches arise from the same spot and are opposite of each other.
Pretty soon I was picking out maples left and right! I felt like quite the arborist.
Tapping the trees
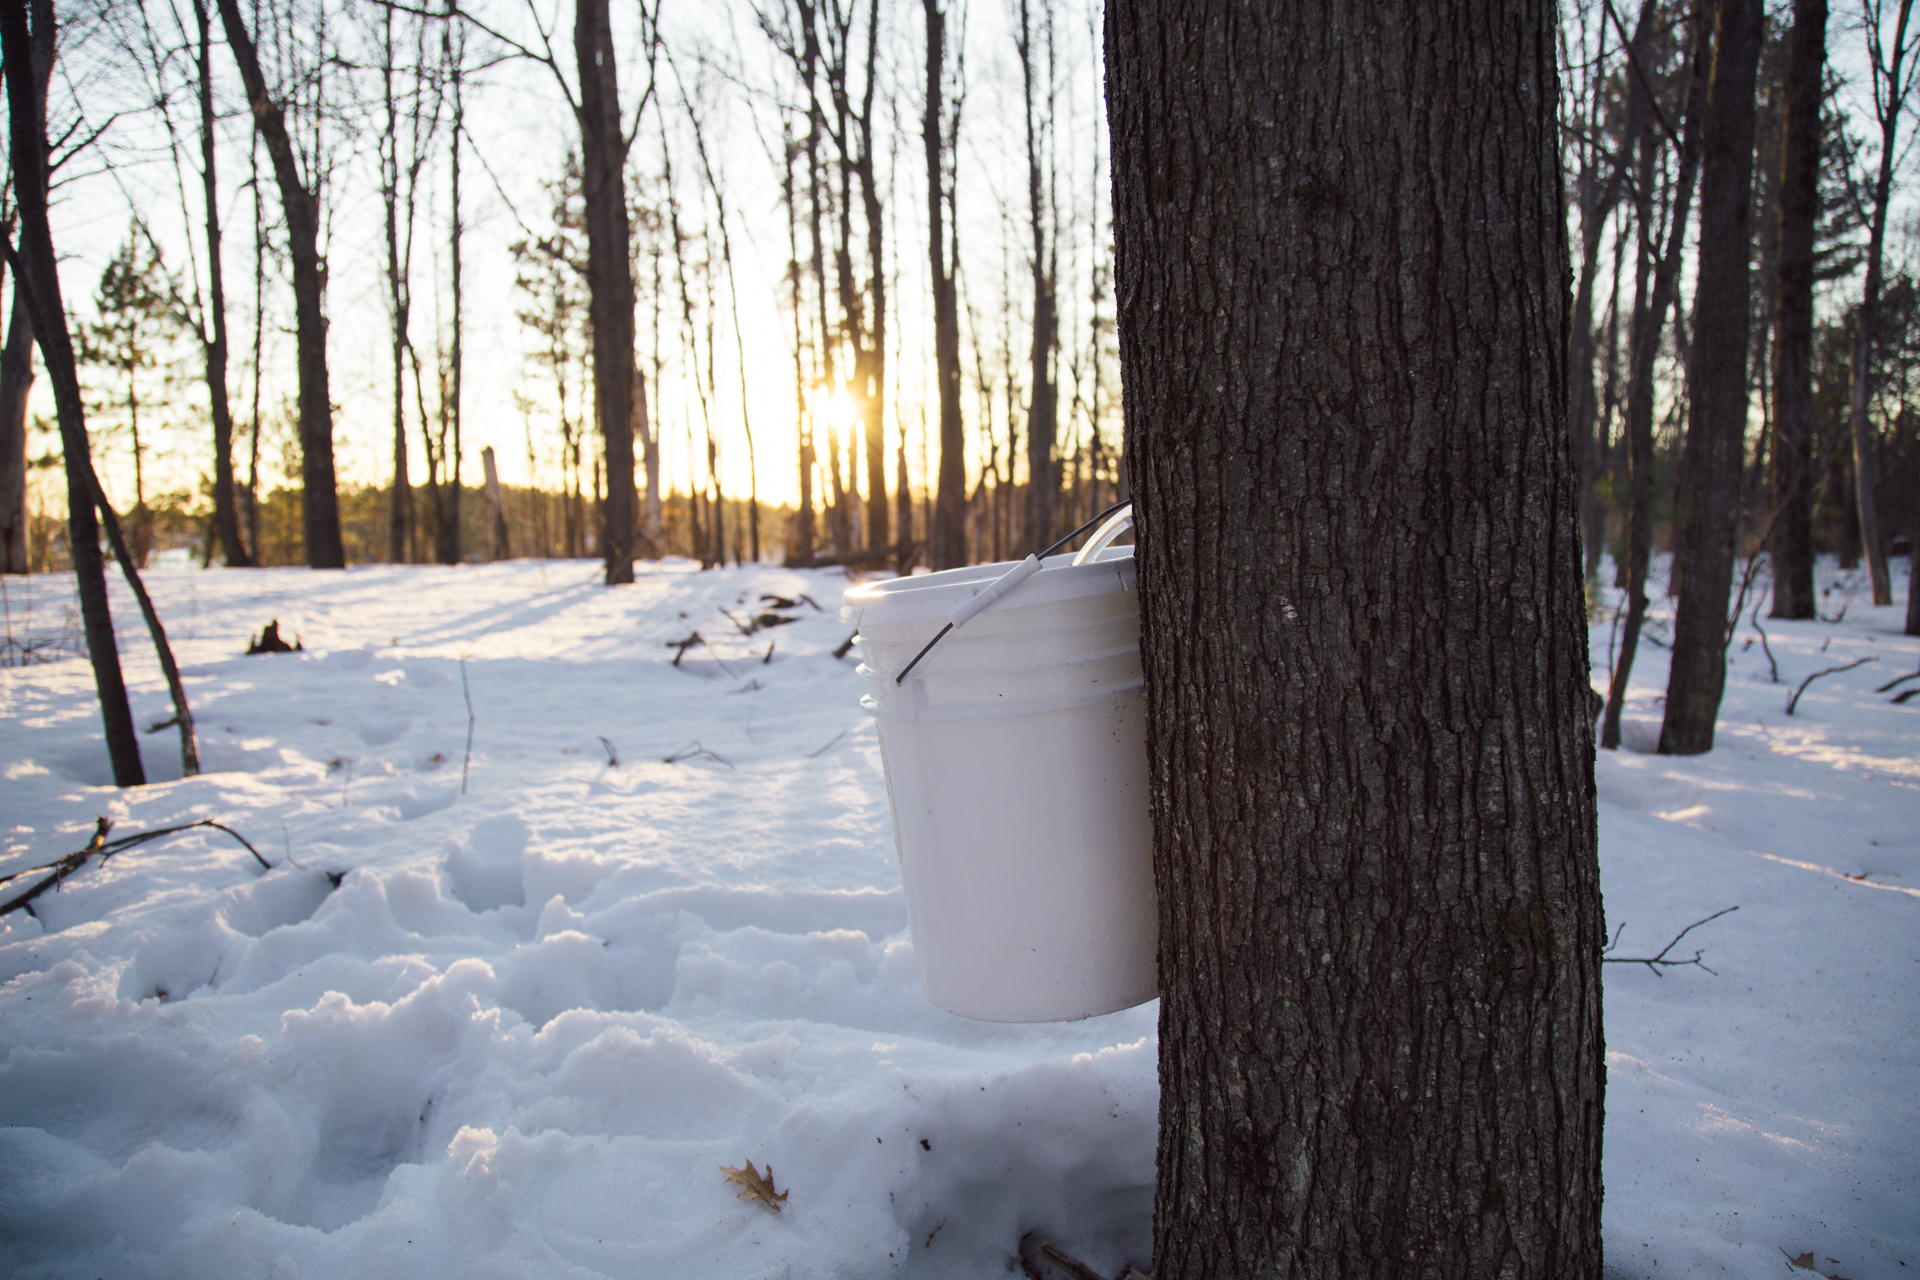
Now that we had found the trees, it was time to put the taps in! We picked a spot on the south side of the tree about three feet up the truck, and we used a drill to make a hole that was 2 to 2 1/2 inches deep. We knew right away that it was for sure a maple tree because sap started dripping out as soon as he was done drilling! We took one of the spiles and gently hammered it into the tree. We also decided to fit a small tube over the spile and into the bucket so that the sap ran right into it. Then we hung the bucket on the spile, making sure it was secure, and we were done!
quick summary
1. Find a maple tree that is at least 12 inches in diameter.
2. Using a power drill with a 5/16th bit, drill a hole 2-2 1/2 inches deep on the south side of a maple tree, making sure you’re at a slight angle so the sap can drip out. The sap should start dripping out immediately.
3. Take a hammer and gently tap the spile into the hole.
4. Hang your bucket and start collecting!
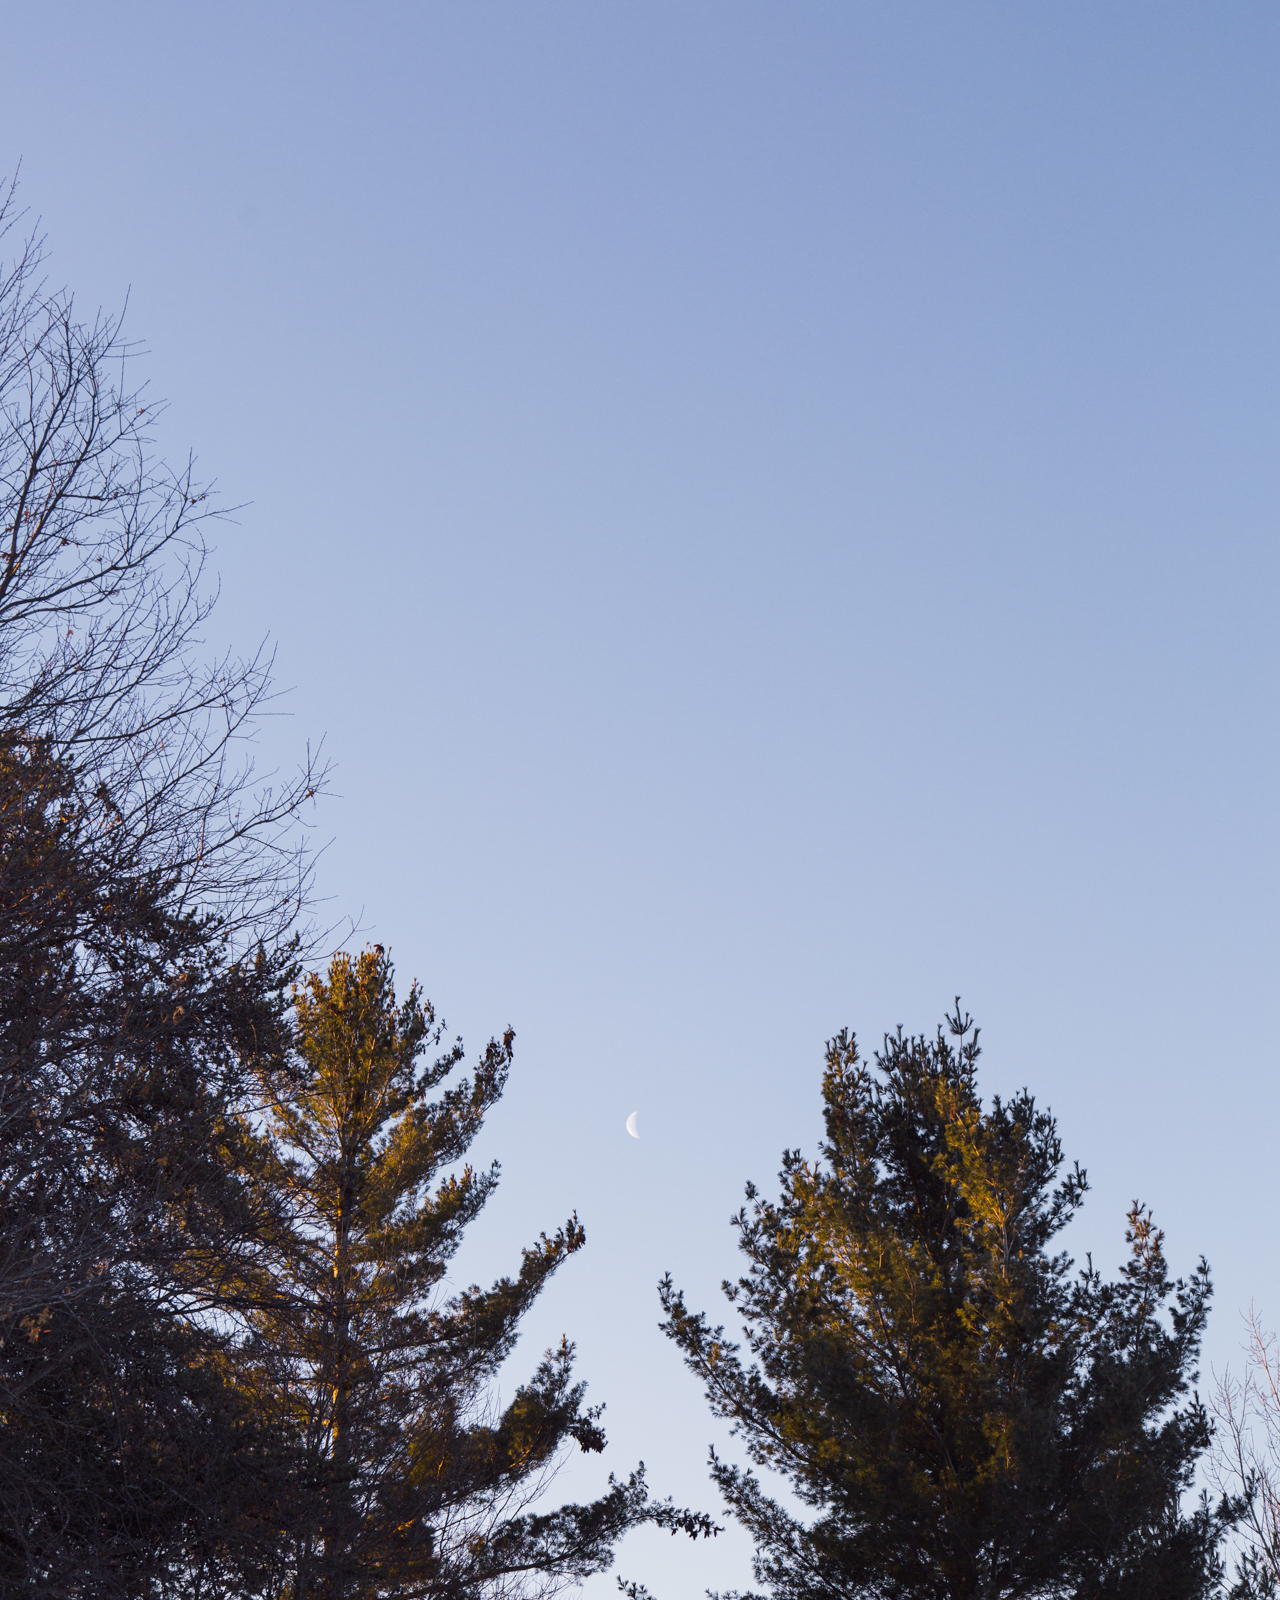
Loon calls. Music to my winter weary ears. It shouldn’t be long now until the ice is gone and we can hear the loons calling.