
Making Maple Syrup: Part 2
Read Part 1 here!
Over the last few weeks, we’ve been hard at work making maple syrup from scratch. The process started in late March and ended in mid-April. Every other day, we would head into the woods to check on the maple trees that we had tapped. When the sap buckets would get full, we’d transfer them into a different bucket and haul it back home. Over the course of a few weeks, we had gathered nearly 40 gallons!
Once we had enough, the next step was to start boiling it down.
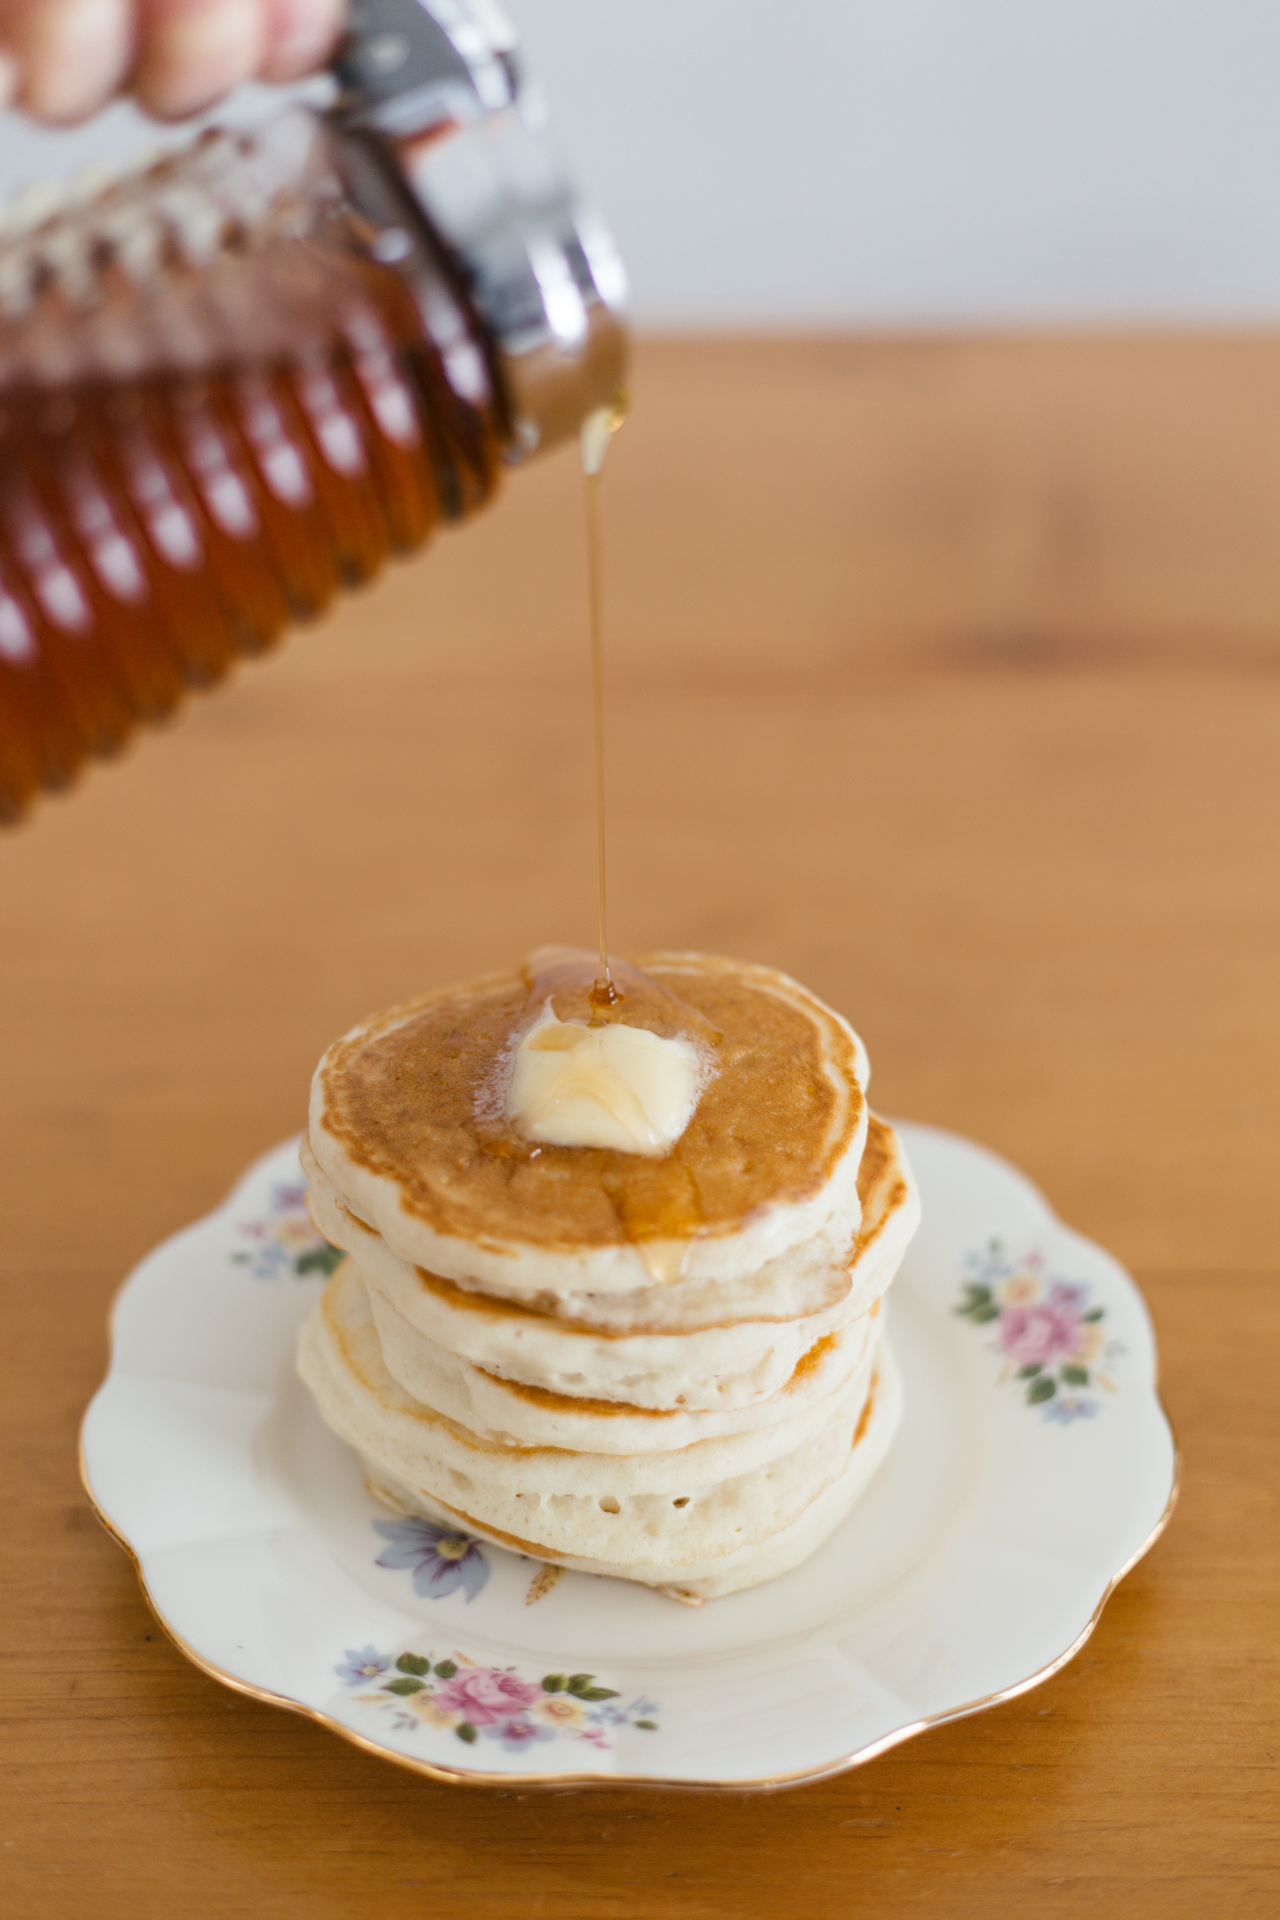
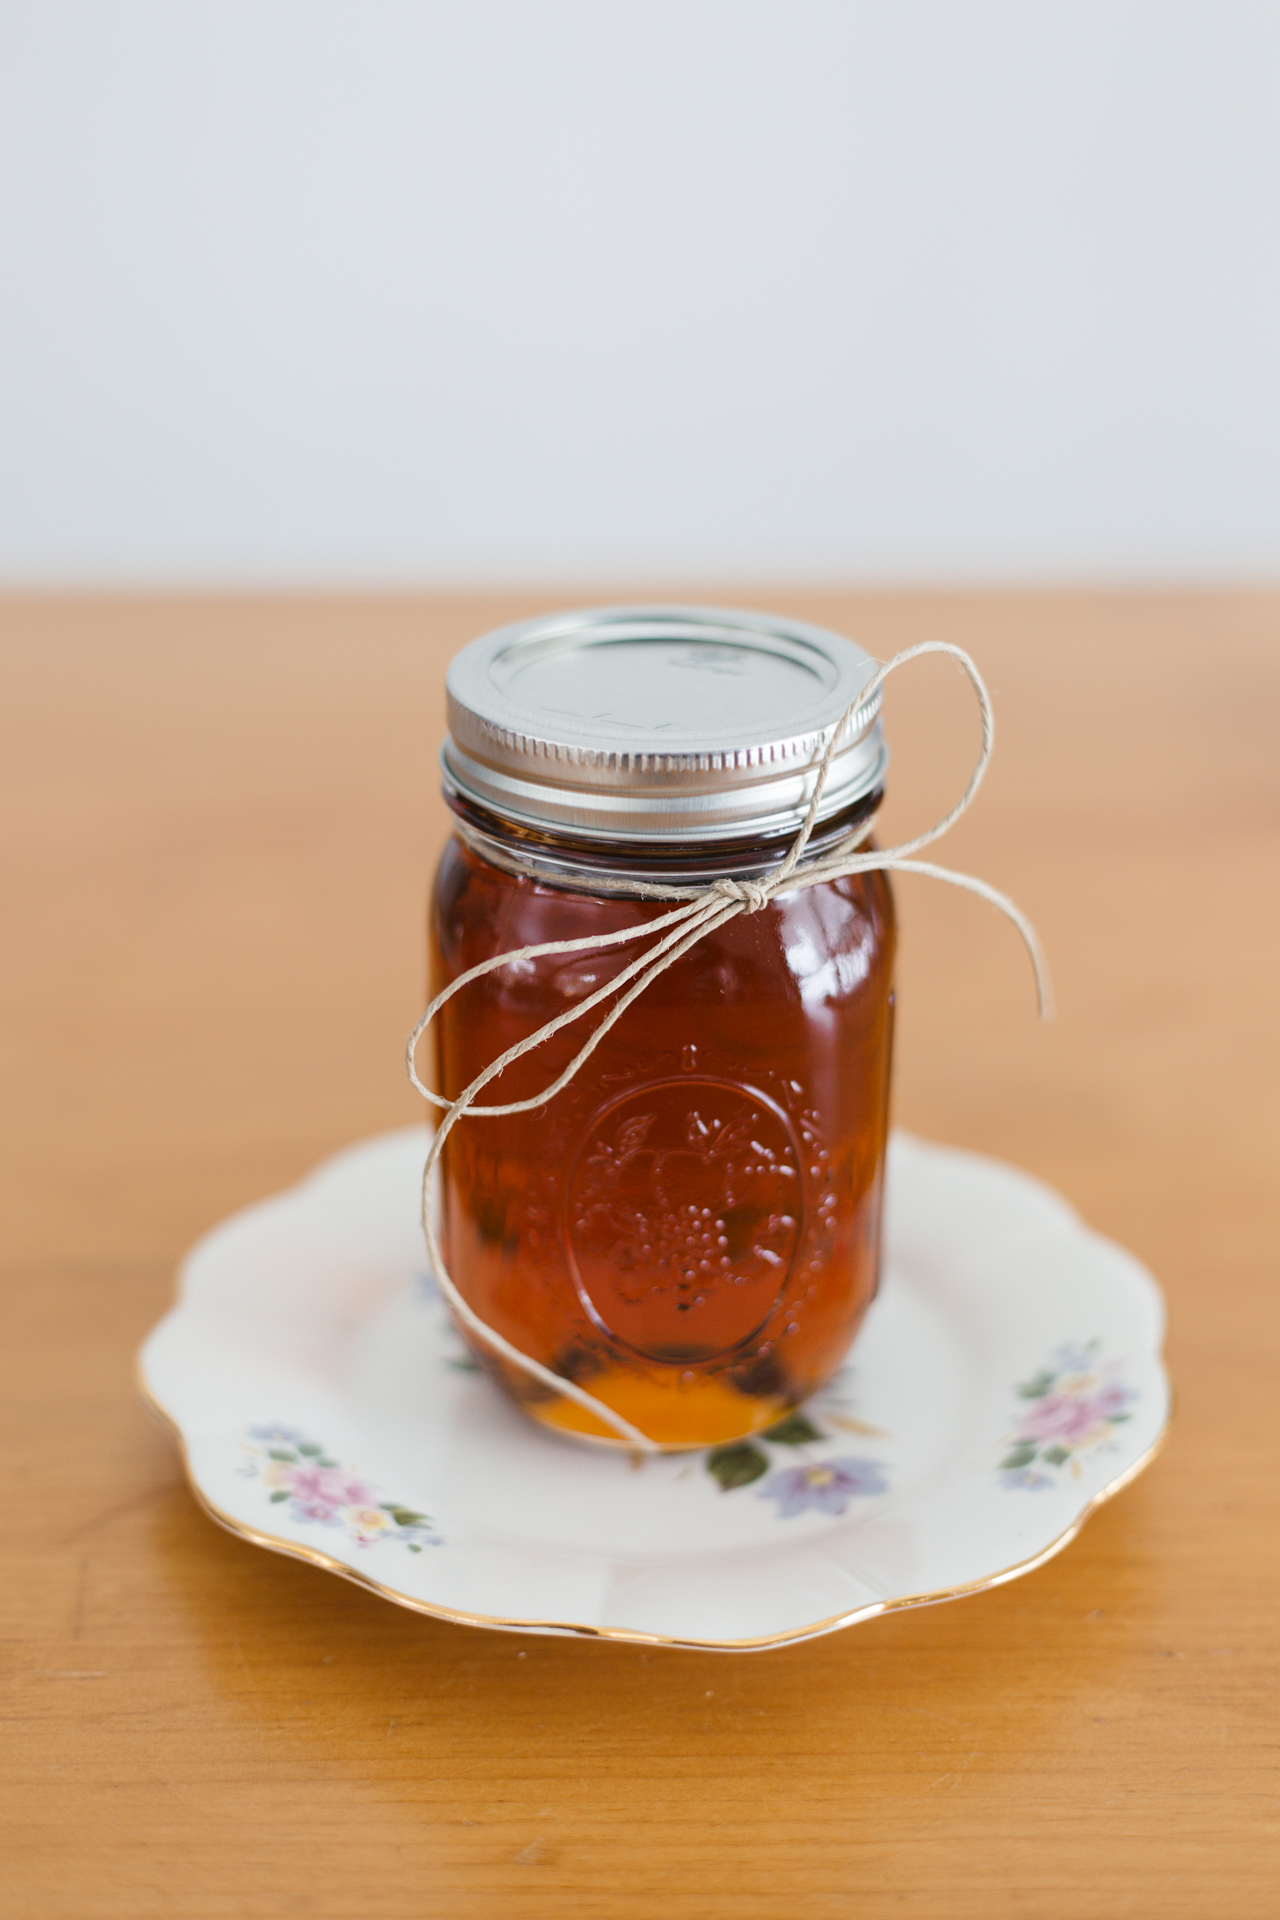
When the pots would get low, we’d pour in some more sap and continue boiling off the water. Pretty soon, we had poured in all 40 gallons of sap and were down to just one 2-gallon pot! This was when we bought it inside to finish it up on the stove. When it got down to about 1 gallon, we used a thermometer to check the temperature and then tested the density of the syrup with a hydrometer. It was ready! The last step was to filter it into some mason jars. We didn’t have any fancy filtering tools, so we just did it with coffee filters. It was pretty slow going this way but it worked!
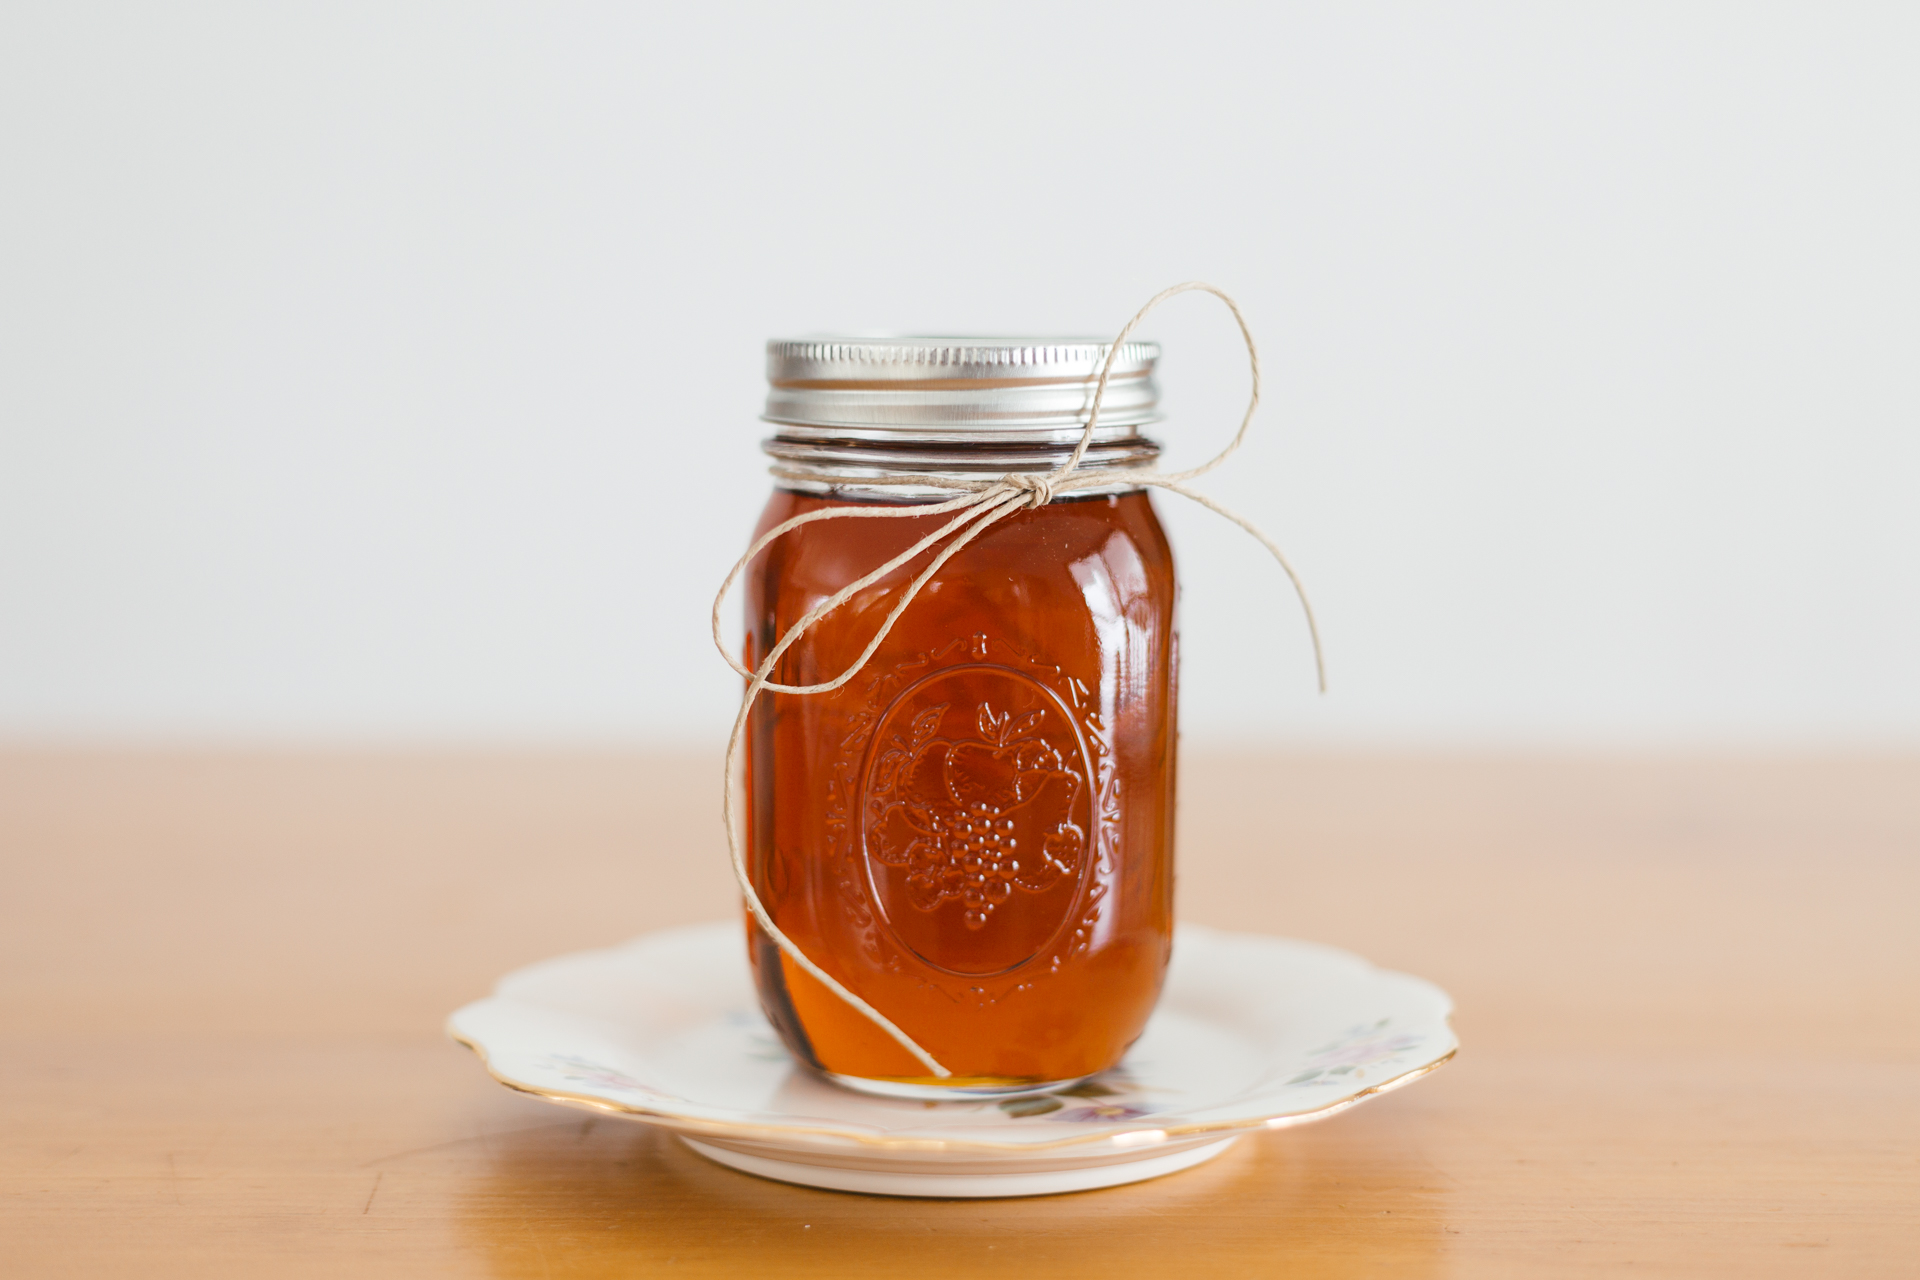
Overall, I really enjoyed making homemade maple syrup! I was pretty skeptical that it would taste good but in the end, I was pleasantly surprised! I also love that our syrup has this really beautiful honey-color to it! The only downside is that it has a slight smokiness to it since it was boiled over an open fire. We’ll have to figure out a way to solve that next year! 🙂
OUR MAPLE SYRUP SUPPLIES
Grandpa would be so proud. Every spring he and Al would tap trees all around town and the surrounding countryside, bring it to Roy’s and they would make syrup. Family tradition.
Thank you Muriel! My dad had mentioned that the other week! I didn’t know they’d tap trees all over town though! That’s pretty cool 🙂