
Making Maple Syrup: A Guide for Beginners
This guide is for the hobbyist.
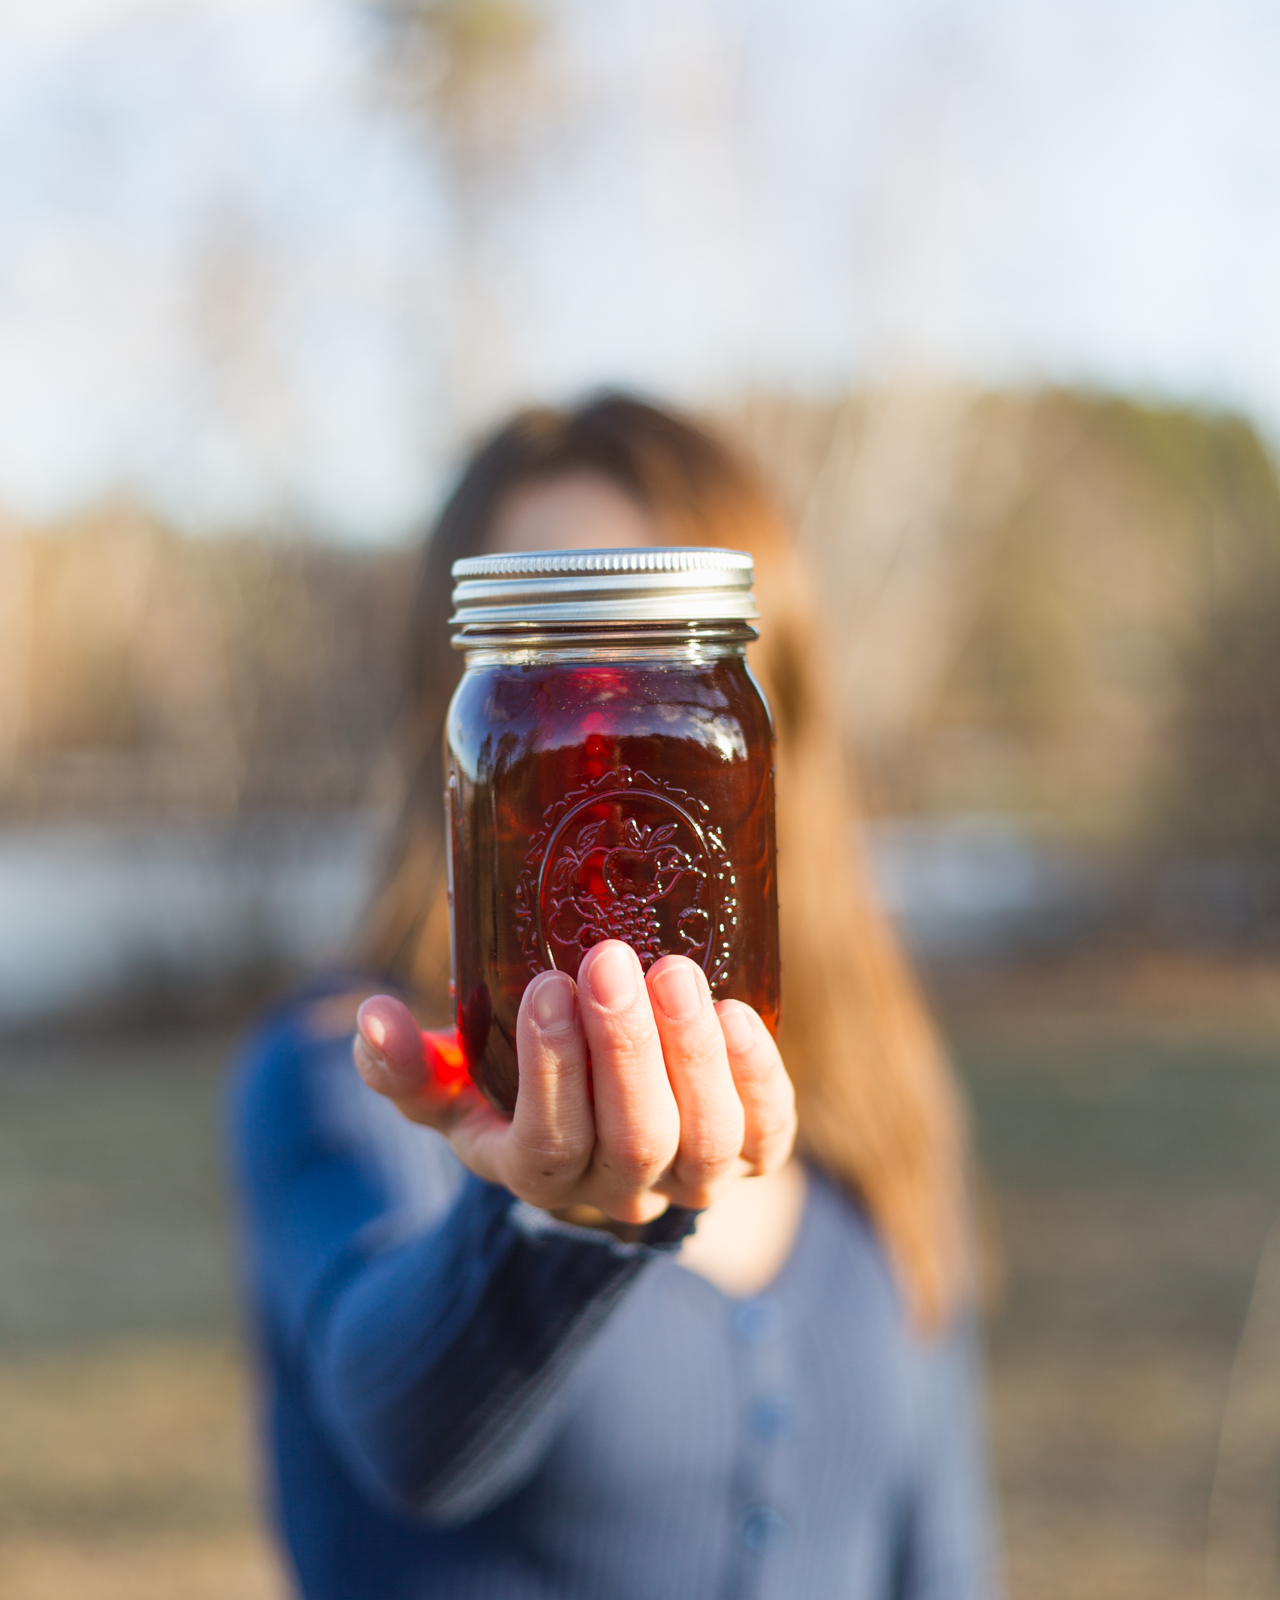
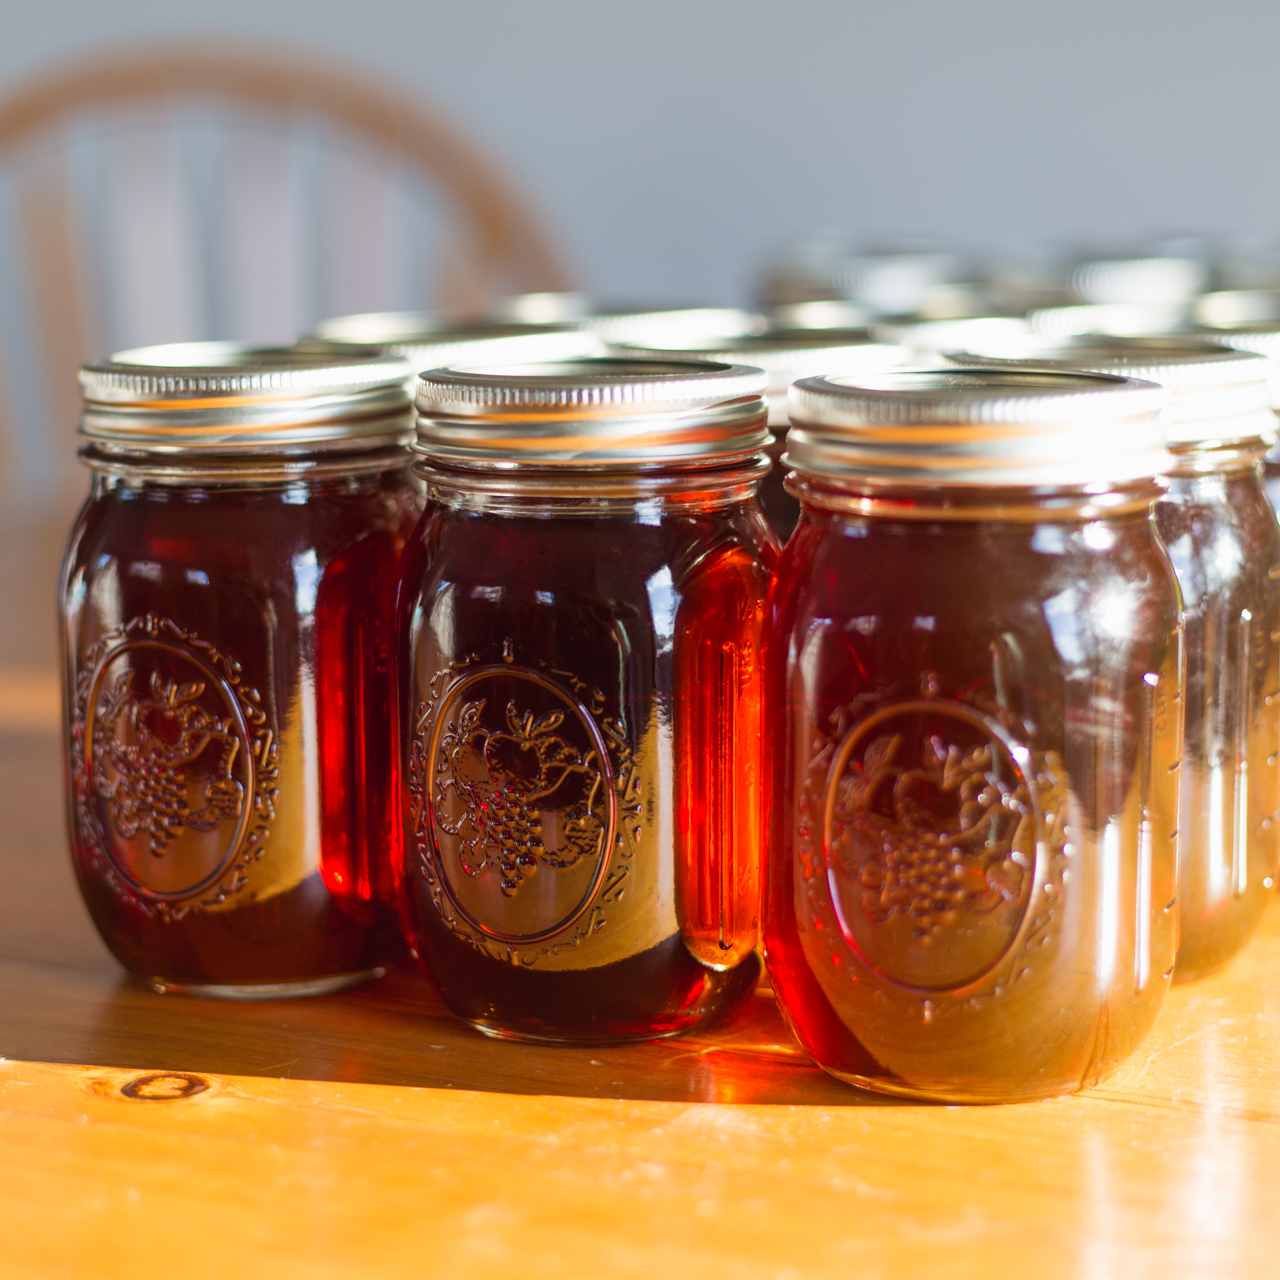
When our second maple syrup season came to a close, we had twenty-two pints of fresh Wisconsin syrup in our fridge, ready to be devoured. This year, 2021, is our third year and we plan to make about the same amount.
The process of making maple syrup from scratch takes time and effort and, depending on the amount you collect, requires a couple weeks commitment. But it’s also one of the most rewarding activities once it’s all said and done. To know that you collected sap straight out of a maple tree and diligently transformed it into sugary, sweet syrup is truly an impressive feat. It’s also the perfect way to spend time outdoors and enjoy the season of spring.
So, without further ado, here is my guide to making your very own maple syrup!
Tapping
The best time to start tapping maple trees is when temperatures climb above freezing during the day and drop below freezing during the night. This is why March and April are the classic maple syrup making months here in Wisconsin!
Step 1 | supplies
Here are the supplies you’ll need at this stage: flexible tailor tape measure, flagging tape, power drill, 5/16th drill bit, hammer, spiles (aka taps), and containers for collecting.
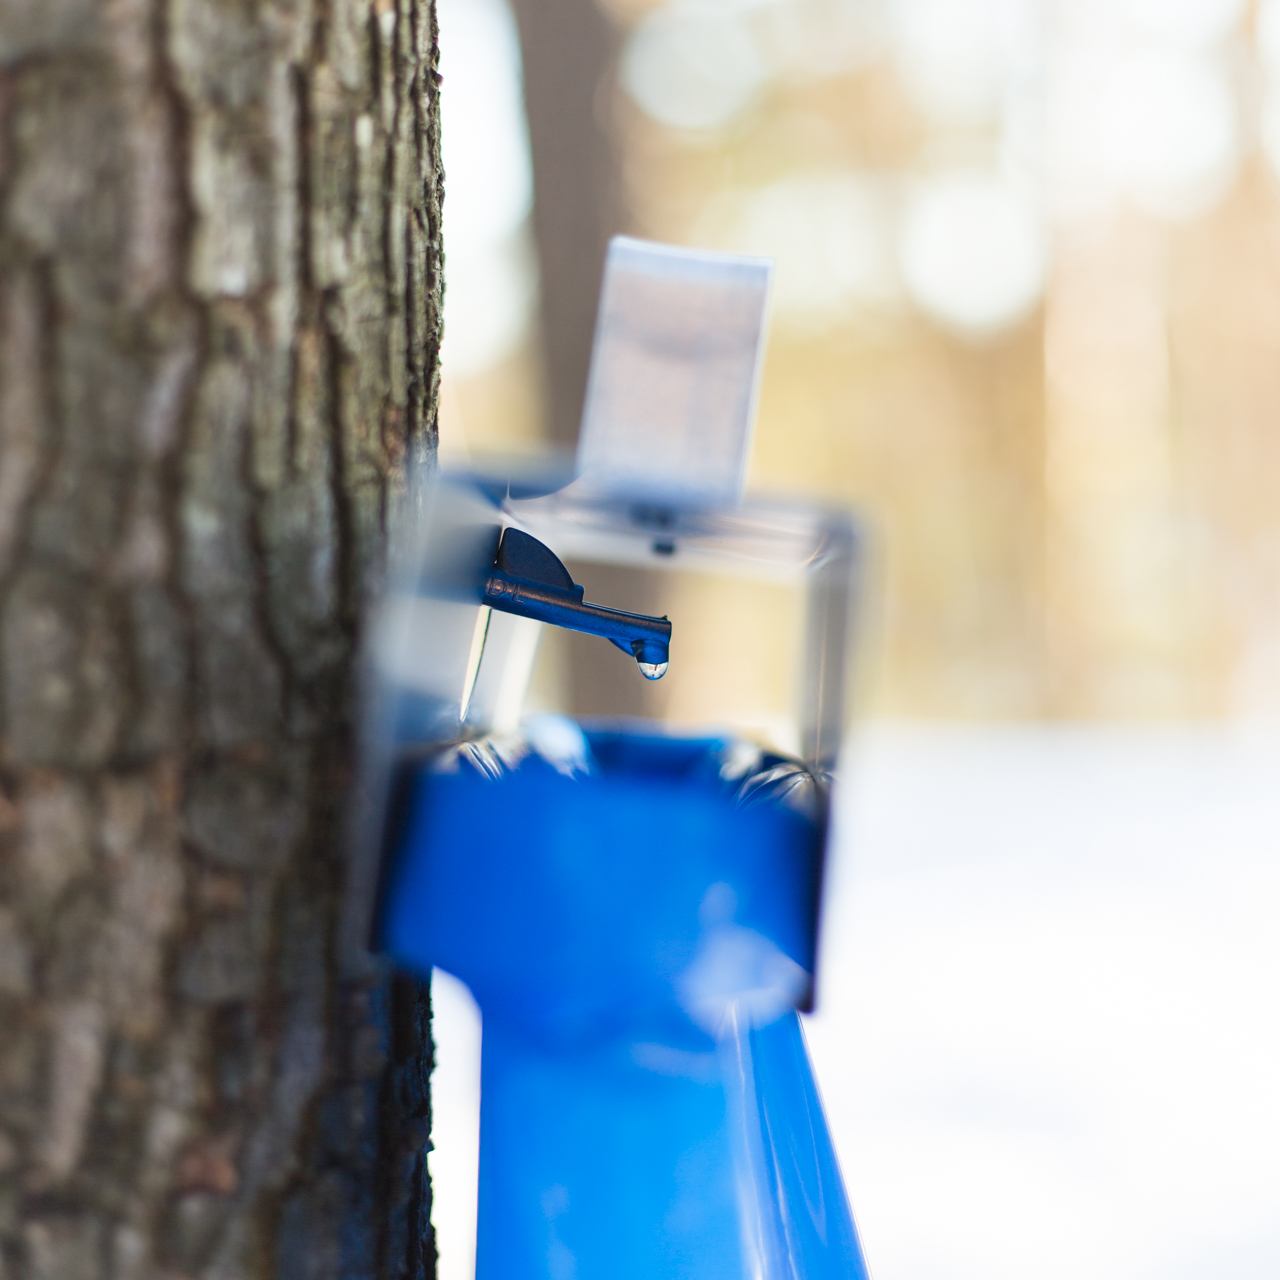
This year, we used these CDL blue sap bags to collect the sap and these CDL sap sak holders which hang off of the spiles.
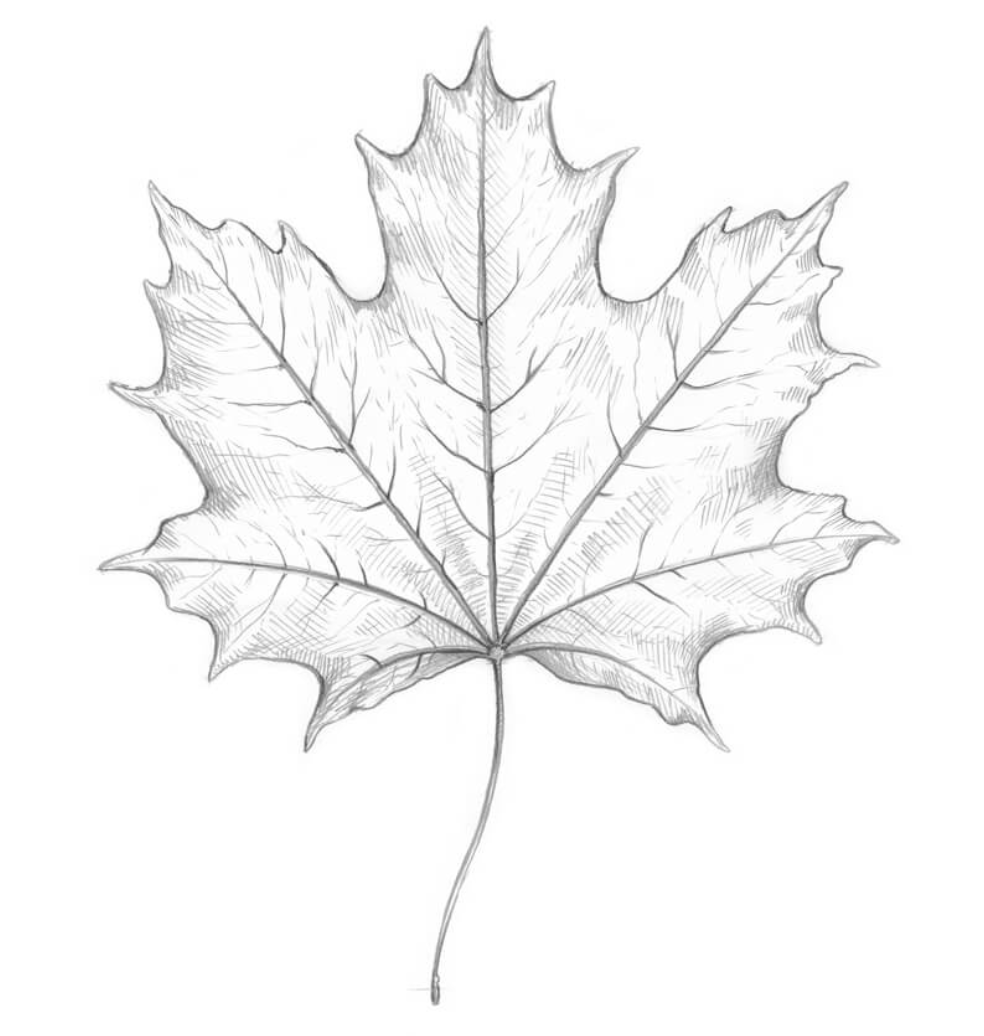
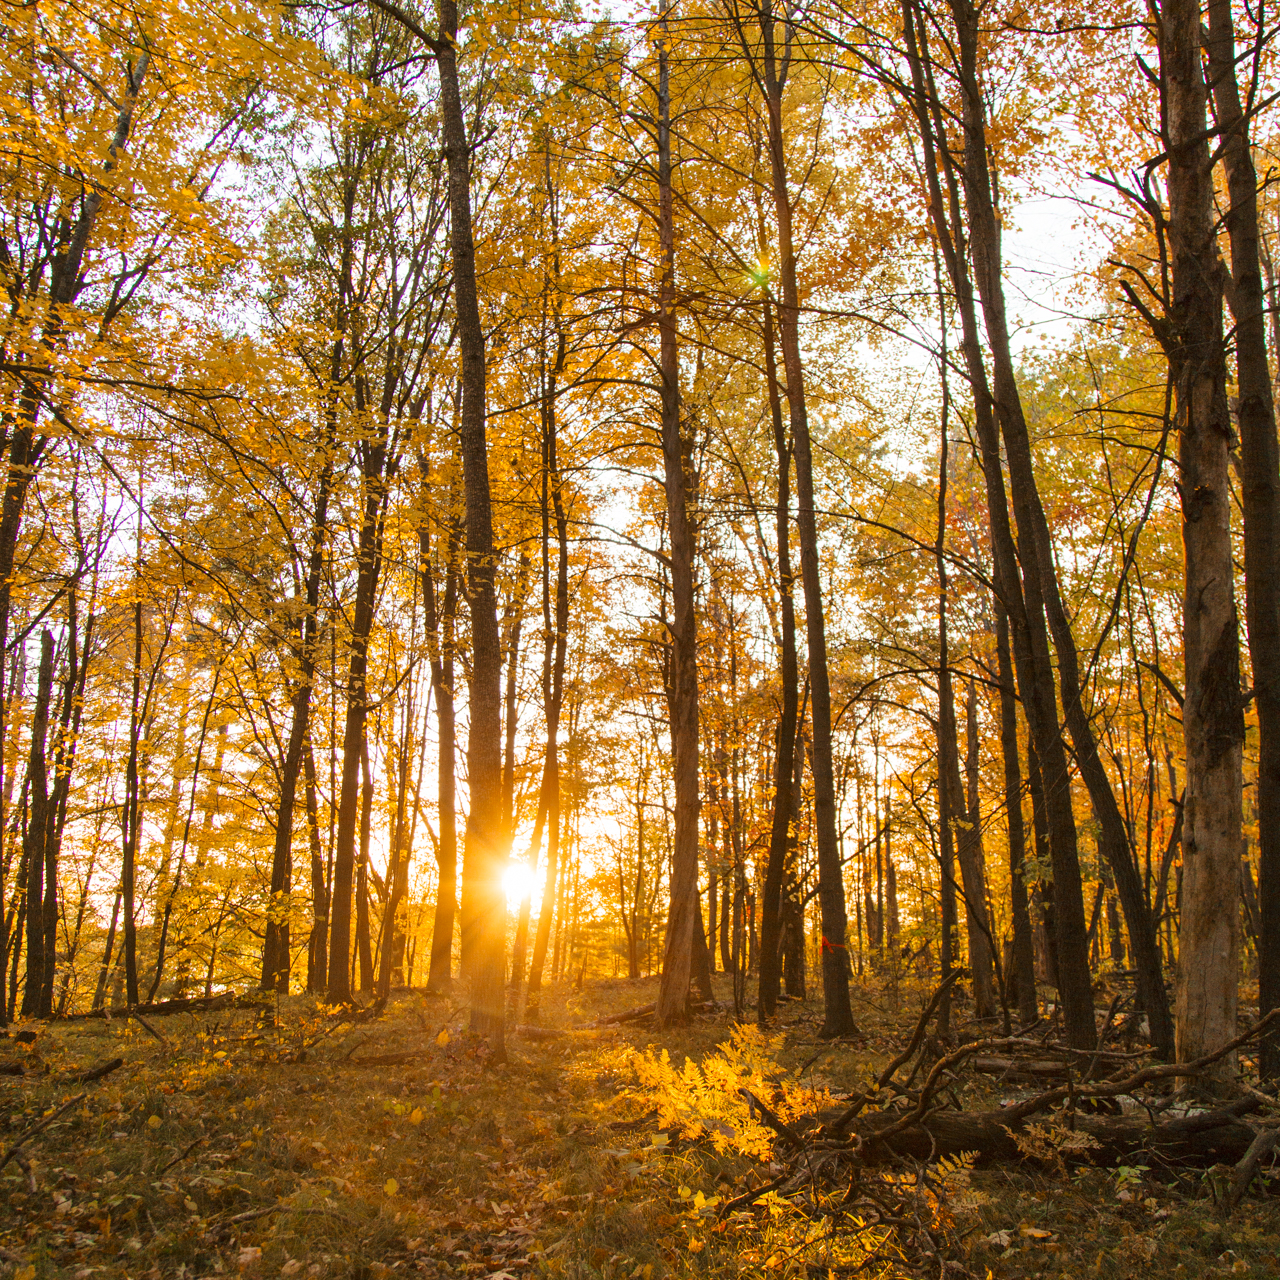
Step 2 | identify your maples – ideally in the fall
The easiest time to find and identify maple trees is obviously in the fall when the leaves are still on the trees. However, it is possible to find maple trees in the winter/spring, it’s just a little more difficult and you might find yourself accidentally tapping oak trees like we did 🙂 You can check out this blog post of mine where I talk about this in more detail and share some pictures of maples without leaves.
Step 3 | measure the tree
Once you find a maple tree, the next step is to measure the trunk. You’ll want to avoid tapping trees under 10 inches in diameter. Anything under this, and you’ll risk damaging or killing the tree.
Step 4 | mark it
Now that you’ve found a big enough maple tree, tie some flagging tape around it so that it’s easy to find again next year. Flagging tape can be found on Amazon for pretty cheap.
Step 5 | watch the weather – spring
As mentioned above, look for days when the temperatures reach into the upper 30s or 40s and then drop below freezing at night. This is when the sap flows best and when you should start tapping the trees.
Step 5 | Tap the tree – spring
Pick a spot on the south side of the tree about three feet off the ground. Drill a hole about 2-2.5 inches deep at a slight upward angle so that the sap flows downward. Gently hammer the spile into the hole. Sap should start dripping out right away! Hang your containers and start collecting!

Collecting
Here are some frequently asked questions when it comes to collecting sap!
How often do you collect it?
Our bags hold up to four gallons so we collected every couple of days.
Can I freeze sap?
Yes, you can! We’ll freeze it if we’re not planning on boiling it right away.
Can I refrigerate sap?
Yes, but there are a few things to know: sap should be refrigerated at a temperature of 38 degrees F or lower and used within 7 days of collection.
How did you haul it?
We poured the sap out of the bags and into 5-gallon, food-grade buckets. Then, we’d bring the buckets back home on a sled and cover them in snow until we were ready to boil (we didn’t have enough room to store it all in our freezer).
How long does maple syrup season last?
On average, 4-6 weeks.
How much sap should I collect?
It’s totally up to you but keep in mind – it takes approximately 40 gallons of sap to produce 1 gallon of maple syrup. This year we collected around 110 gallons of sap and got 22 pints of syrup!
Boiling
Since sap is mostly water, you need to boil it down to turn it into syrup.
Step 1 | supplies
Here are the supplies you’ll need at this stage: evaporator, pans, firewood, oven mitts, measuring cup or something to transfer small amounts of sap from the pan to the hydrometer cup, hydrometer, hydrometer cup, kitchen thermometer.
Step 2 | get your evaporator ready
Simply put, a maple syrup evaporator is an open pan over a heat source. This lets the steam escape which allows the sap to boil down, making it more and more concentrated.
Since this guide is for the hobbyist, we’ll be keeping it simple. The easiest and cheapest way to boil sap is over an open fire. However, if you want to take it a step further, consider building an evaporator like we did for a little over $100! You can read that blog post here.
Step 3 | boil, boil, and then boil some more
It takes quite a while to boil down sap so I would highly suggest doing as much as you can outdoors. As it starts getting low, just add more sap and keep going. Don’t let it get too low since this can burn it. We probably spend a total of 3-4 days boiling outside. We’d start in the morning, boil all day, pour it back in the buckets after dark, and then repeat the whole process again the next day.
Step 4 | finish it up inside
With the 40 to 1 ratio in mind, you’ll want to bring the sap inside once you start nearing that point.
So for example, if you started with 40 gallons of sap, bring it inside once you’ve boiled it down to about 2 gallons. You can then boil off the remaining gallon on your stove.
Step 5 | keep an eye on it
As it gets close to being done, it has a tendency to boil over the pot. Watch it closely!
Step 6 | Test it with the hydrometer
Sap becomes maple syrup when it reaches a certain density. This is where the hydrometer and the thermometer come into play. The hydrometer I’ve linked is the same one that we use and comes with detailed instructions that explain how you test your maple syrup to see if it’s done. It talks about temperature, density (Baumé), and barometric pressure. It’s a bit too technical and lengthy for me to explain in this guide so I would suggest reading the instructions provided by the hydrometer.
Filtering + Canning
The last and final step!
Step 1 | Supplies
Here are the supplies you’ll need: mason jars with lids (we use pints), pot, measuring cup, pre-filters, filter bag, something to hang the filter bag on.
Step 2 | filter while hot
It’s important to filter your syrup right away when it’s hot so that it flows easier through your filters.
Step 3 | our filtering system
My husband built a stand using 2×4’s in order to suspend this Orlon filter bag above a pot. We also layered a few pre-filters inside of the main filter bag.
Pre-filters are thinner than the Orlon filter bag and allow you to remove them one by one if they get clogged. They can be found in-store at Fleet Farm (for some reason, they’re not listed online).
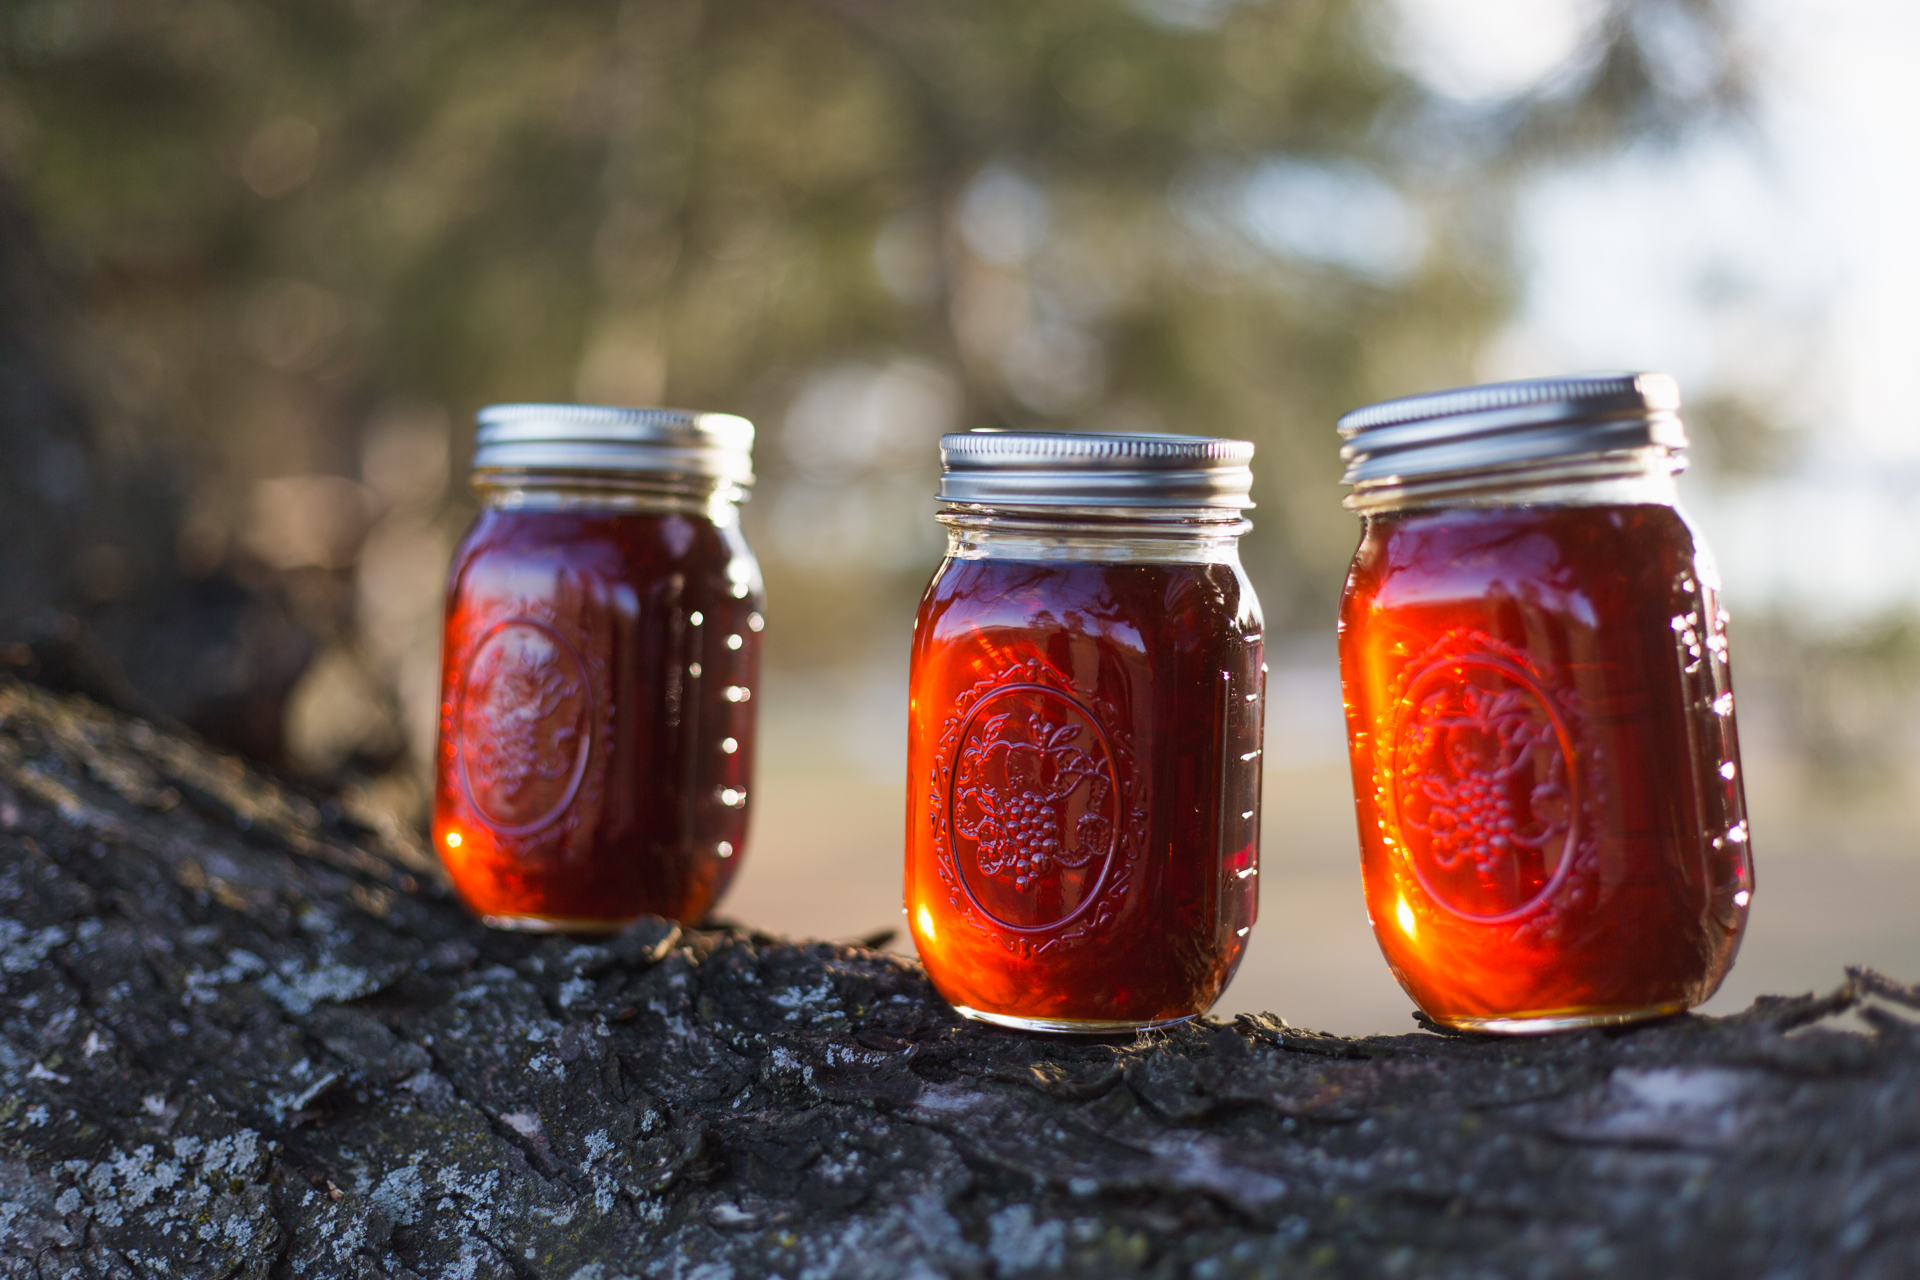
Step 4 | pour into mason jars
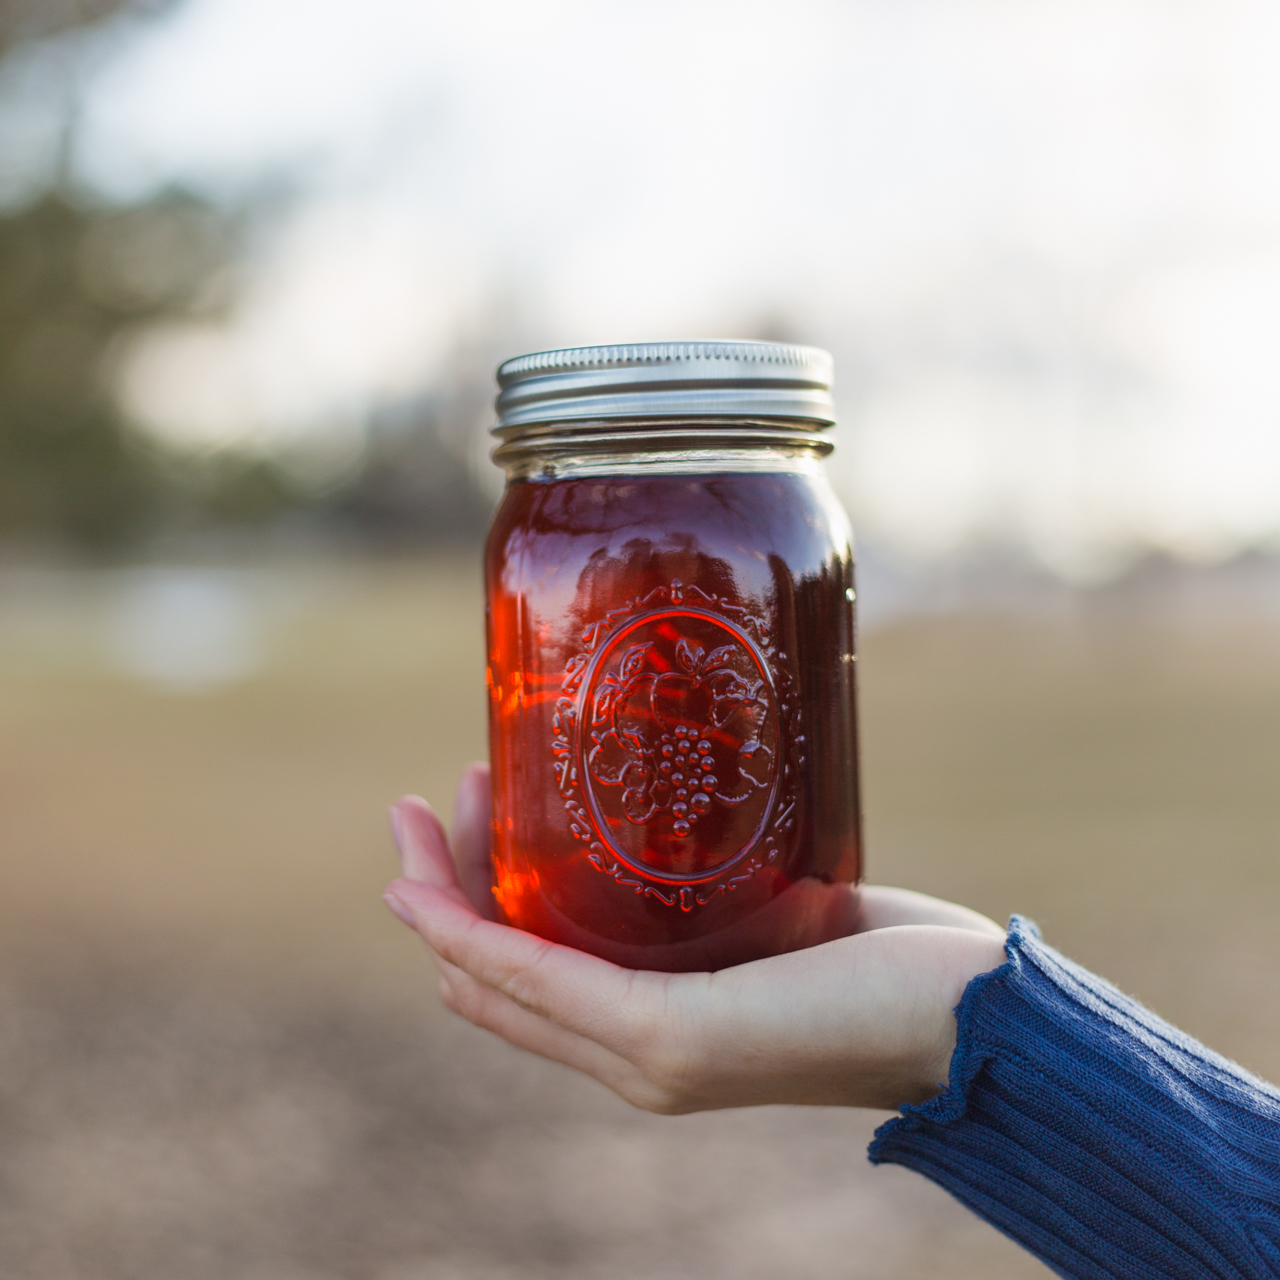
We used Ball pint mason jars. The heat from the syrup should seal the lids.
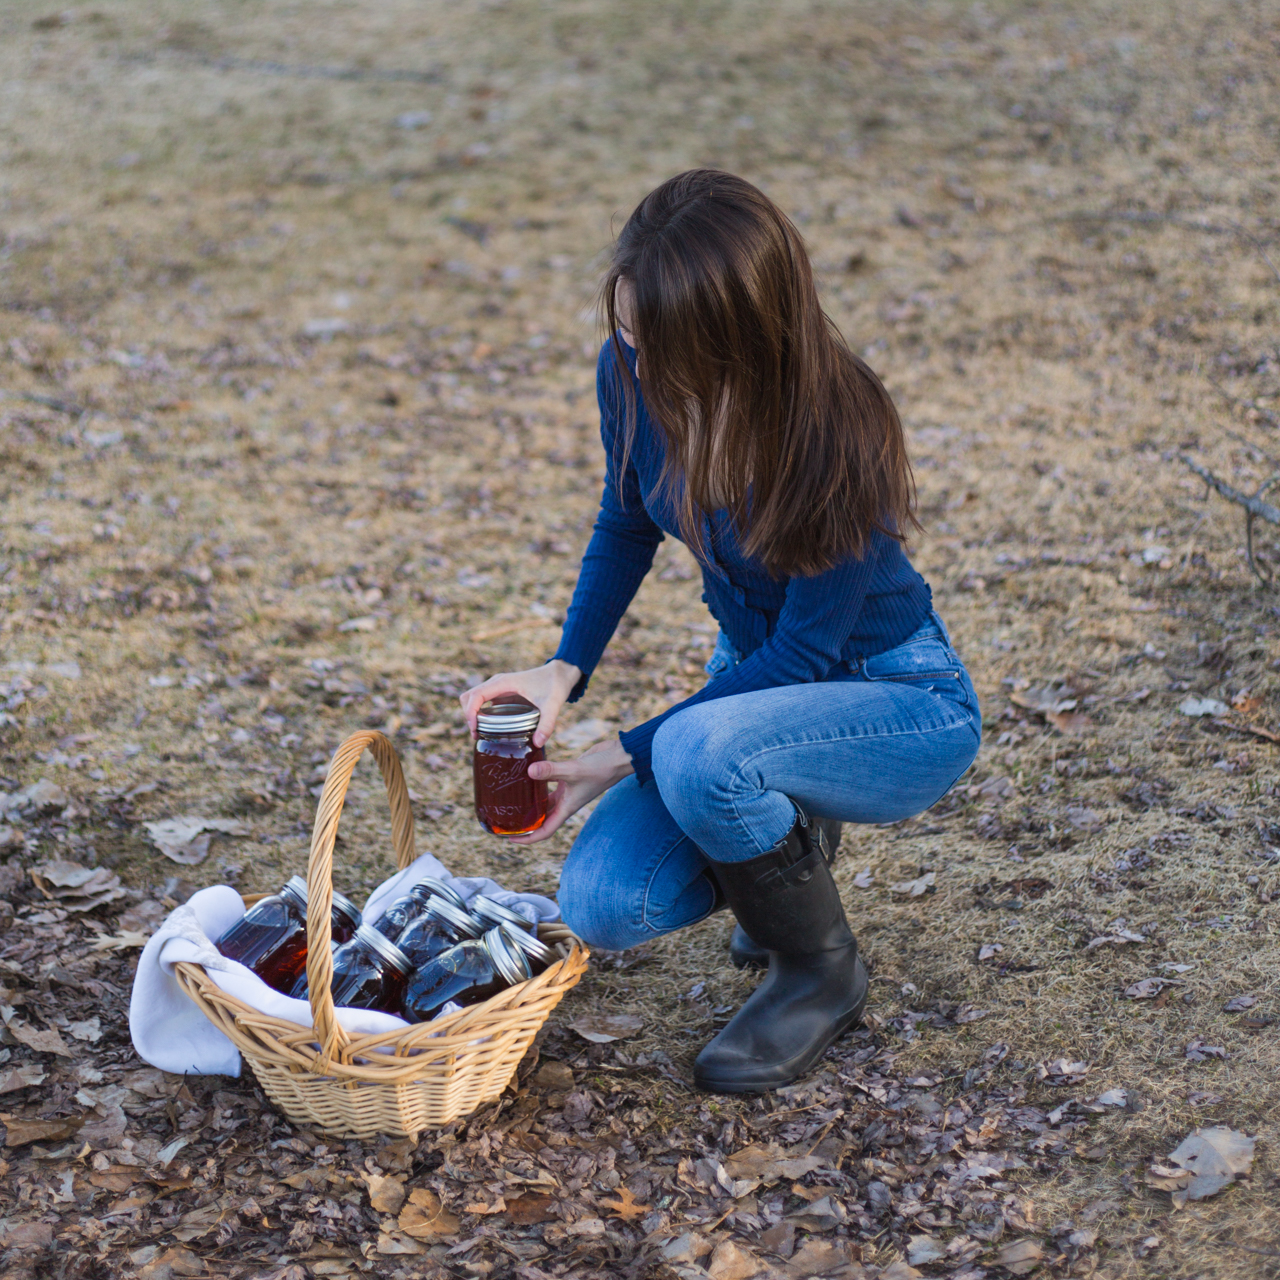
Step 5 | Enjoy!
You’re finally done! Keep your syrup refrigerated and start making those pancakes!
other posts
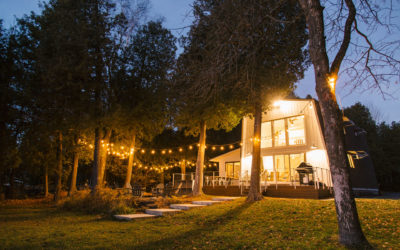
Cabins on Clark Lake
On the quieter, eastern side of the Door County peninsula sits a stunning cabin rental called The Bay.

Pine Cove Cabin
Pine Cove Cabin is one of those places that checks all the boxes for a classic "up north" stay. Built in the late 1920s but renovated in 2017, Pine Cove has that perfect mix so many of us want in a getaway - rustic yet modern. I love cabins that feel... well, cabin-y!...

The Foxglove Inn
In mid-December, my mom and I escaped the Northwoods for a few days and fled to the Door County town of Sturgeon Bay. We were staying for two nights at The Foxglove Inn, a stately bed & breakfast nestled within the historic district just steps from downtown.

Cabins on Clark Lake
On the quieter, eastern side of the Door County peninsula sits a stunning cabin rental called The Bay.
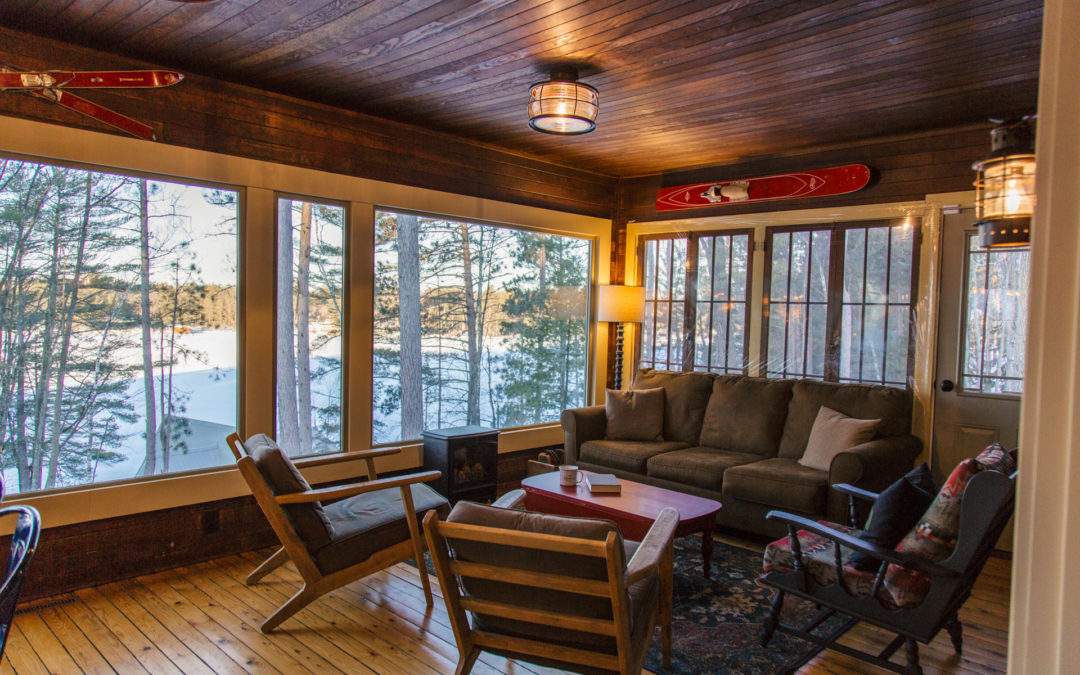
Pine Cove Cabin
Pine Cove Cabin is one of those places that checks all the boxes for a classic "up north" stay. Built in the late 1920s but renovated in 2017, Pine Cove has that perfect mix so many of us want in a getaway - rustic yet modern. I love cabins that feel... well, cabin-y!...
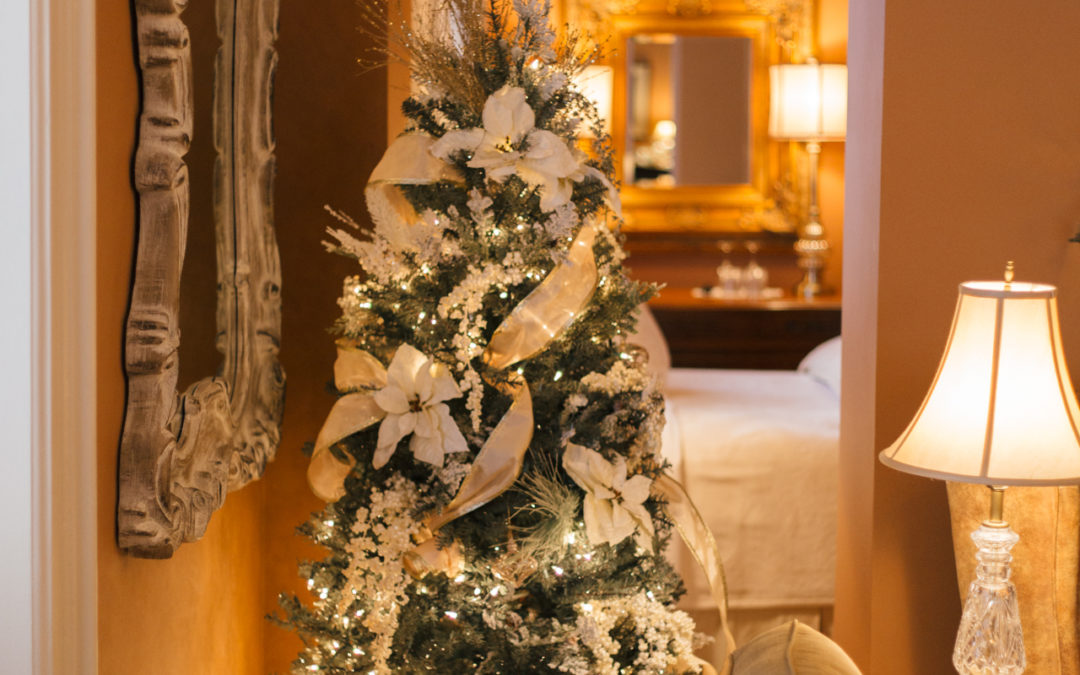
The Foxglove Inn
In mid-December, my mom and I escaped the Northwoods for a few days and fled to the Door County town of Sturgeon Bay. We were staying for two nights at The Foxglove Inn, a stately bed & breakfast nestled within the historic district just steps from downtown.
follow me on instagram
follow me on instagram
Really interesting and detailed post. Wish we had the ability to do this in England as maple syrup is quite expensive here! (Imported)